Push Notification Setup (Android)
Backendless can deliver published messages as push notifications to Android devices. Additionally, Backendless Console can be used to publish push notifications. In order to deliver a push notification to Android, your app must be configured to use Firebase Cloud Messaging the Backendless backend must be configured with a Google API Key. Detailed instructions for setting up FCM in your app can be found at:https://firebase.google.com/docs/android/setup, however, make sure to follow the instructions below as well.
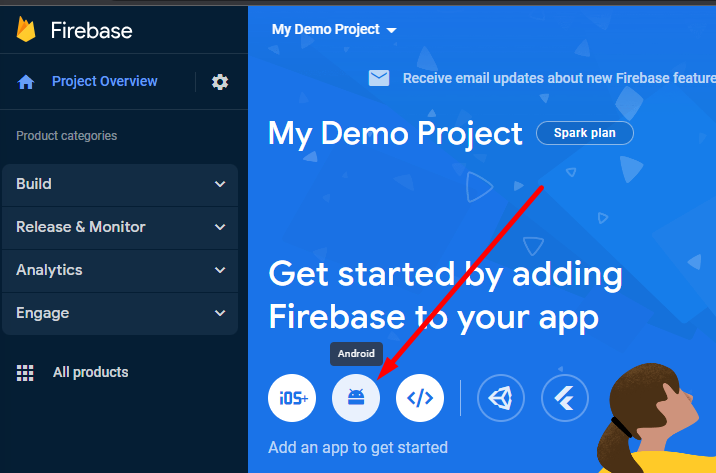
- Login to Firebase Console and select or create a project.
- Add Firebase to your app. Start by clicking the Android icon and follow the instructions from the Google's documentation.
-
Make sure the following dependencies are present in application's gradle.build file (usually
app/build.gradle). Note that the version numbers will change, the numbers in the example below is the latest version at the time of this doc writing:implementation 'com.google.firebase:firebase-core:20.0.0' implementation 'com.google.firebase:firebase-messaging:23.0.0' -
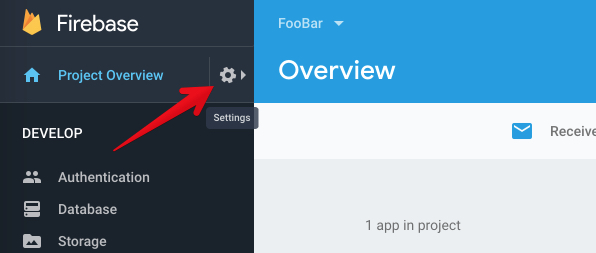
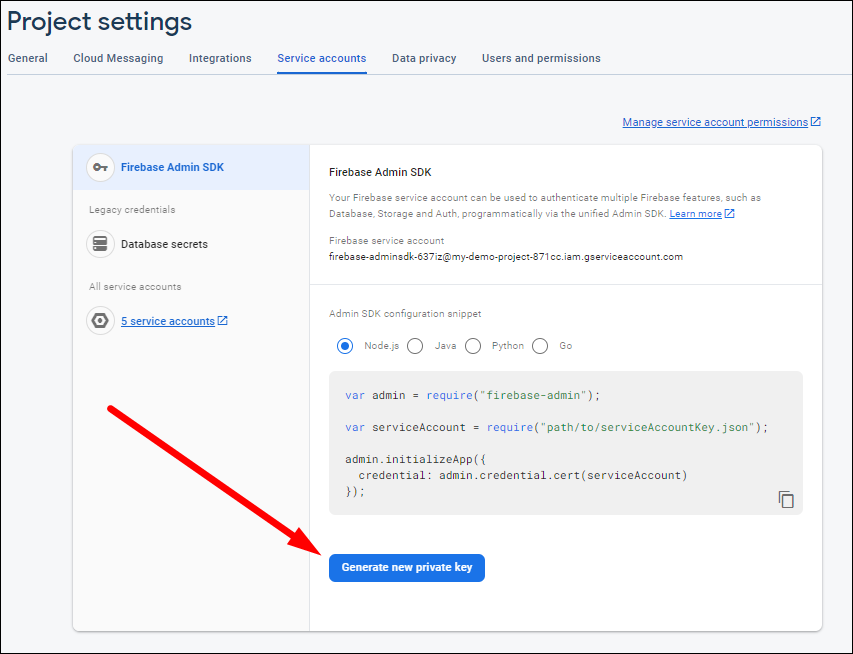
Click the gear/settings icon located next to the Project Overview menu item and select Project Settings.
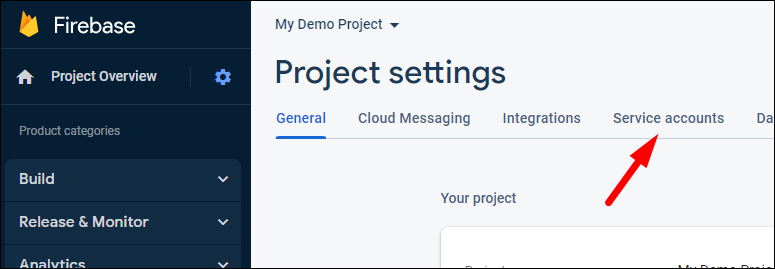
- Switch to the Service Accounts tab:
- Click the Generate new private key button and confirm in the popup that follows. The result of these actions will be a .json file downloaded to your computer.
- Open Backendless Console and select your application.
- Click the Manage icon in the upper left corner and select the MOBILE tab.
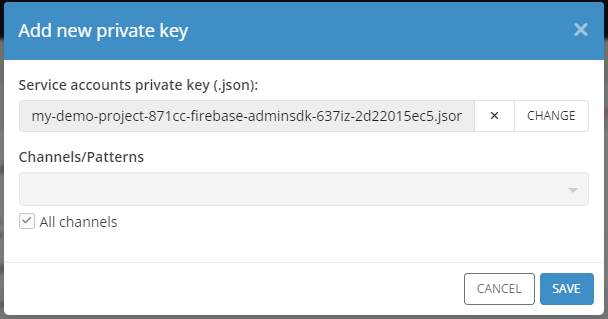
- Click the ADD PRIVATE KEYS button in the Android Server Keys section.

- Browse to and select the private key file downloaded in Step 8. Make sure to map the key to a Backendless messaging channel. If you would like to use the key for all channels, use the All channels checkbox. Click the SAVE button to save the configuration.
- Once the data is saved, the backend of your app is configured and is ready to publish push notifications to Android devices registered with your Backendless application.
App/Manifest Configuration
- Make sure to add Backendless SDK to your app per the documentation instructions.
-
Backendless service for Android must be registered in the app's manifest as shown below:
<service android:name="com.backendless.push.BackendlessFCMService"> <intent-filter> <action android:name="com.google.firebase.MESSAGING_EVENT" /> </intent-filter> </service> -
Use the device registration API. For example, the following API registers the device with both FCM and Backendless. It uses the Backendless
defaultmessaging channel:List<String> channels = new ArrayList<String>(); channels.add( "default" ); Backendless.Messaging.registerDevice(channels, new AsyncCallback<DeviceRegistrationResult>() { @Override public void handleResponse(DeviceRegistrationResult response) { Toast.makeText( context, "Device registered!", Toast.LENGTH_LONG).show(); } @Override public void handleFault(BackendlessFault fault) { Toast.makeText( context, "Error registering " + fault.getMessage(), Toast.LENGTH_LONG).show(); } }); -
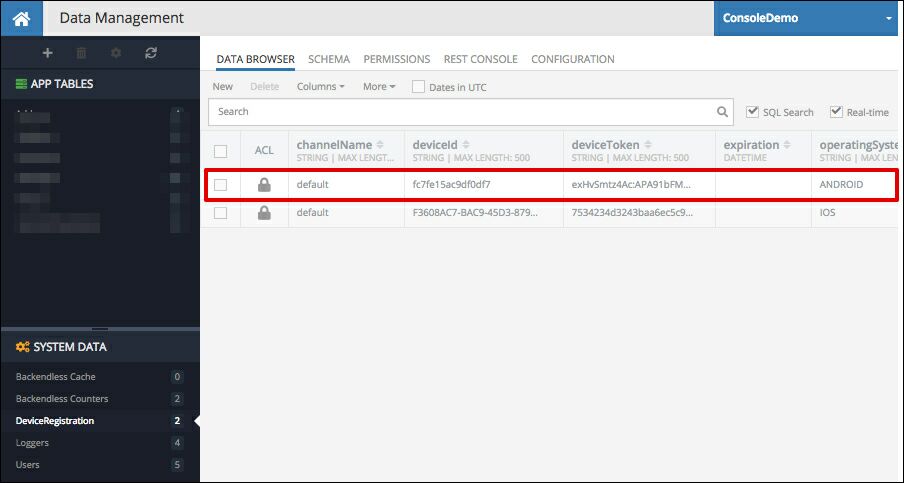
You can verify device registration in your Backendless backend. To do open Backendless console and navigate to the Data screen. The device will appear in the the DeviceRegistration table: