Creating and Assigning a Layout
Getting started with Layouts in Backendless is straightforward. In this chapter, we'll guide you through creating a layout using a predefined template and assigning it to a page. Let's begin!
Step 1: Choosing a Layout
Accessing Layouts
- Open the UI Builder interface in your Backendless app.
- Navigate to the LAYOUTS tab. Here, you'll find a list of all existing layouts in your app, both predefined and custom.
Creating a New Layout
- Click NEW LAYOUT. A popup window appears.
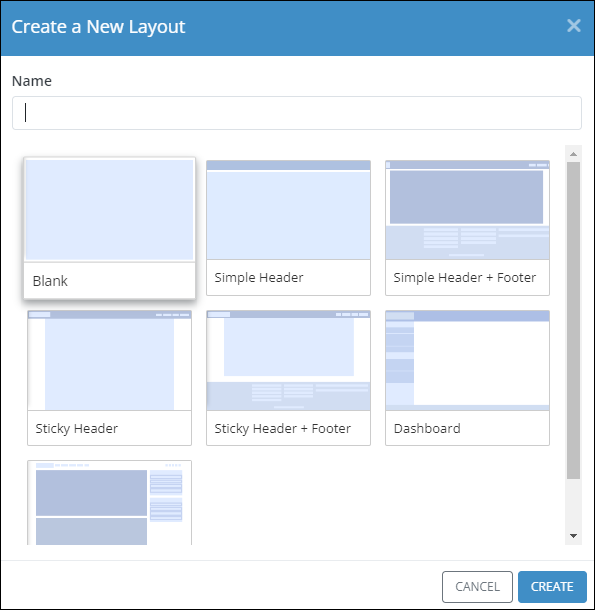
- Select a predefined layout that suits your app's needs.
- Assign a meaningful name to your layout and click CREATE.
- Now, your selected layout will appear on the LAYOUTS screen.
Step 2: Familiarizing with Layout Management
On the LAYOUTS screen, you'll notice several icons in the ACTIONS and USED IN PAGES columns:
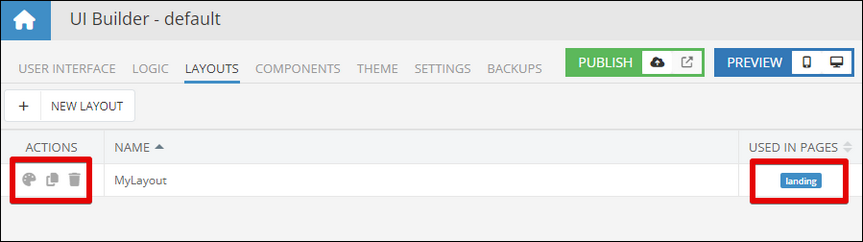
- Edit UI/Logic: Modify the layout’s user interface and logic.
- Clone: Create a duplicate of the layout.
- Delete: Remove the layout from your app.
- Usage Indicator: Displays the names of the pages in your app are currently using this layout.
Step 3: Assigning the Layout to a Page
Selecting a Page
- Switch to the USER INTERFACE tab.
- Choose an existing page or create a new one.
Assigning the Layout
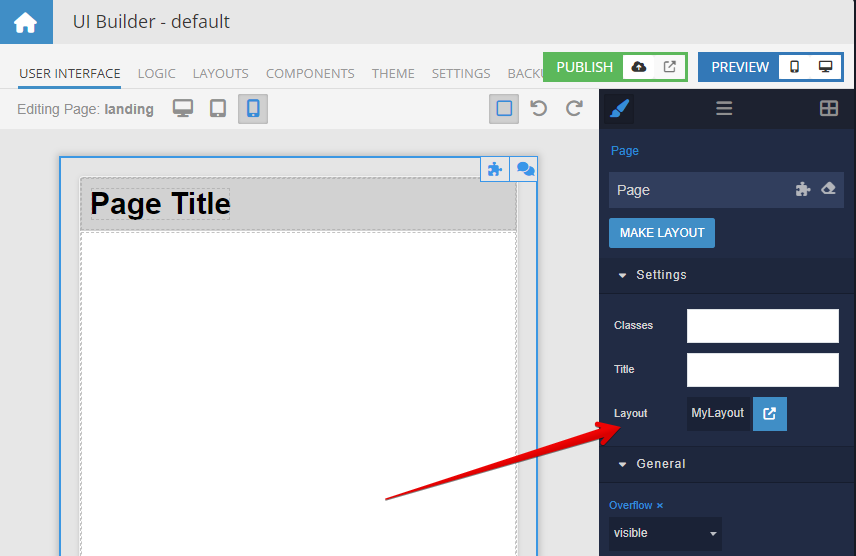
- In the hierarchy of UI elements, select the top-level Page component.
- Locate the Layout property.
- Click the dropdown that shows "None".
- Select your newly created layout.
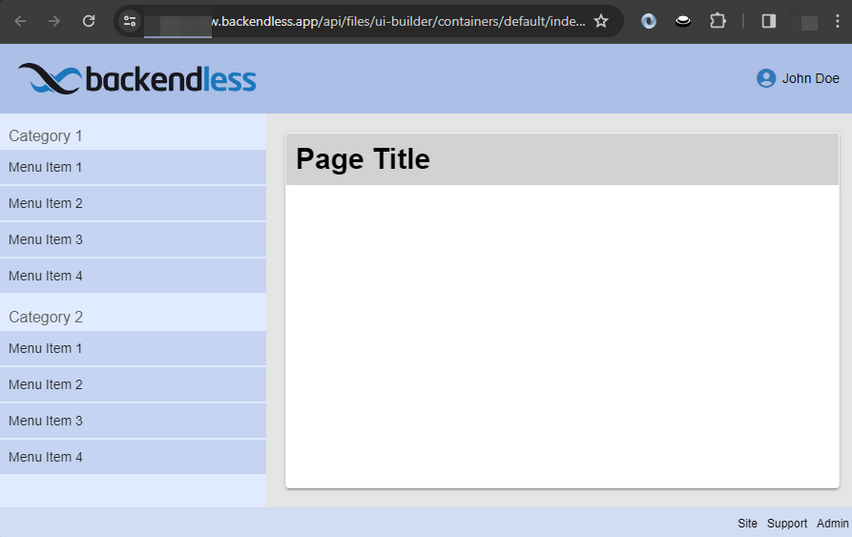
Note: The UI Builder's screen won't change after this selection. However, when you preview or publish your page, it will render using the chosen layout:
Whenever you need to transition to the layout editing mode, use the Open the layout icon in the Page's properties sheet. This is a shortcut for the same action as clicking the Edit UI and Logic icon for the layout on the LAYOUTS tab.
![]()
What's Next?
Now that you're familiar with using predefined layouts, you're ready to explore creating custom layouts. The next chapter will walk you through this exciting process, allowing you to fully tailor layouts to your app’s unique requirements.