Logic Introduction
Logic is the core element of a UI Builder application, it is what brings life into your application. UI Builder relies on the Codeless programming model that uses a visual programming paradigm. This guide does not cover Codeless, however, it is recommended to learn its fundamentals to become more proficient in developing applications with UI Builder. The best starting point is the Codeless Fundamentals Training Course published in the Backendless YouTube channel:
In a UI Builder application you can add logic to event handlers belonging either to the page components and the page itself. It is quite important to understand what events are, when they occur and how UI rendering happens in a UI Builder application. Let us review a trivial example of an application which consists of an input field and a text label. Below is an animation illustrating the scenario:
In the animation above a page renders two components: an input field and a text label. As you can see, some text is typed into the input field and it is automatically replicated in the text label. As simple as it looks, there are a lot of unseen things going on in that demo. For instance, there is an event when the mouse pointer moves over or out of the text label area. There are events when the user clicks the input field to set the focus or enters characters. As the text is entered into the input field, some internal data storage is updated, this results in other events being fired that cause the label to update its contents.
Events are of а great value for adding logic in UI Builder. For any event you can add your own logic that will be executed when the event occurs. For example, the page itself has the On Page Loaded event. It occurs when the page is loaded and becomes active. Any logic added to that event will run before anything else happens on the page. This would be a great way to add any kind of application (or page) initialization logic. Another example is adding logic to a button's On Click event. The event is executed when the button is clicked.
To add logic to an event for a component or the page, select the component or page in the editor and click the logic icon:![]()
Clicking the icon opens up the LOGIC tab which is initialized with a listing of events corresponding to the selected component or page:
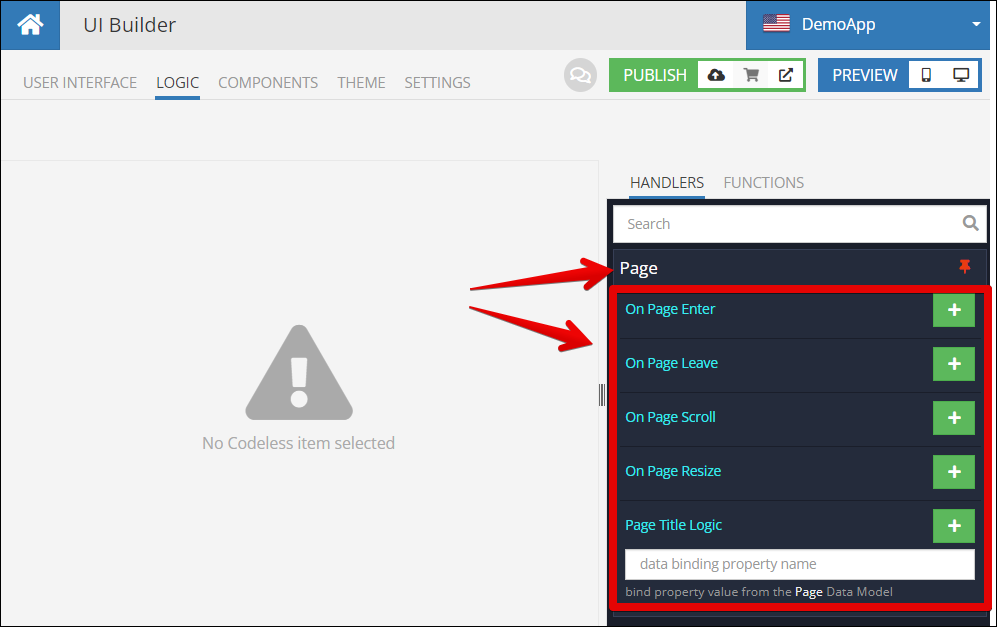
The HANDLERS tab on the right contains a list of handlers. (It also contains a list of data binding properties, they are discussed further in this chapter of the guide). You can also see the name of the component the handlers belong to, in the screenshot above, the component is Page. To add logic to an event, click the green "plus" icon, it will open Codeless editor for the event where you can start adding logic.
Notice the red pin icon in the upper right corner of the HANDLERS tab:
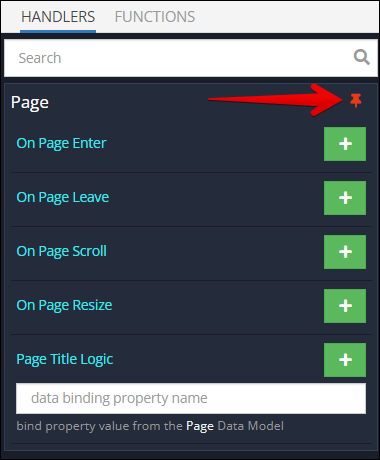
When you navigate to the LOGIC section as described above (by clicking the logic icon for a page/component), the HANDLERS tab is locked for that page/component. This means it displays the handlers which belong to the page/component. Clicking the red pin icon, displays all components present on the page and you can scroll through the entire list:
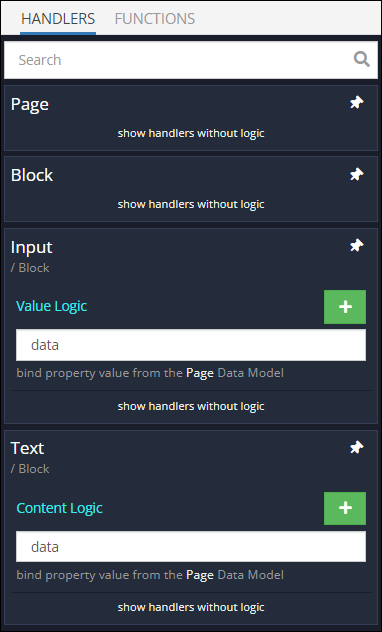
The Search bar located under the HANDLERS tab can be used to find a component you need to edit the logic for. To make the list more compact, UI Builder hides the handlers without any logic. To display the list of handlers in that mode, click the show handlers without logic link. The white pin icon can be used to lock the HANDLERS list for a specific component or the page itself.