Handling Files in Console
Backendless Console includes a graphical file browser which supports the following operations:
Creating a New File
To create a file:
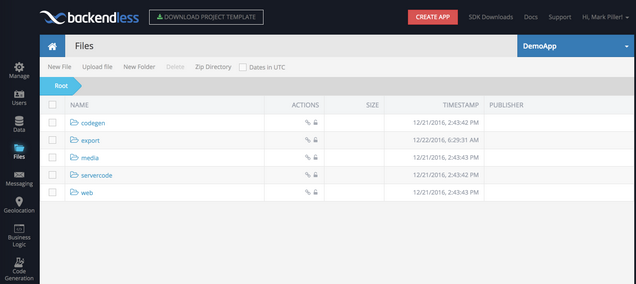
- Log in to Backendless Console and select an application. Click the Files icon:
- Select a directory where a new file should created (or create a new directory). Click the New File link from the toolbar.
- Enter a name in the File name field. Additionally, you can select syntax highlighter from the menu located in the lower-right corner. The highlighter selection is available only for new files. When an existing file is opened for editing, a highlighter is automatically selected based on the file extension.
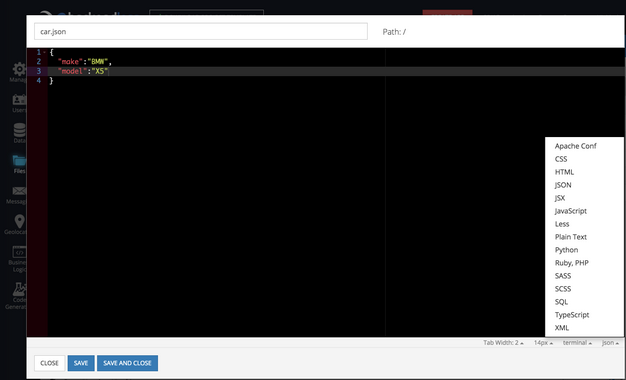
- To save the file click the Save or the Save and Close button.


Editing a File
To edit a file:
- Select a directory containing the file on the Files screen of the console.
- Click the Edit file icon in the Actions column for the file to open it for editing:
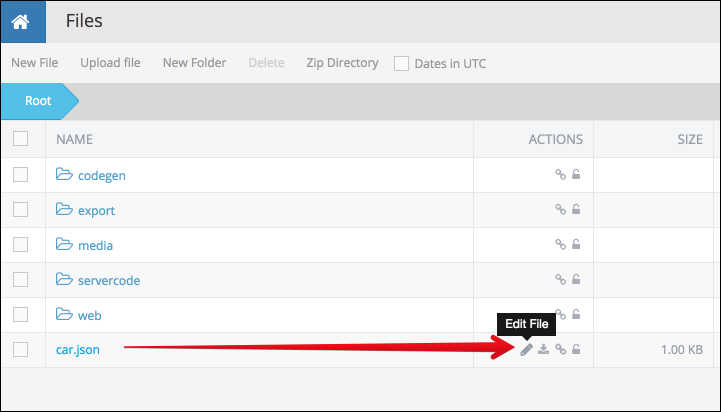
- Once the changes in the file are made click the Save or the Save and Close button.
Getting Public URL for a File
A file in the Backendless File Storage has two URLs:
- a public URL which can be used to download the file outside of Backendless console. This URL is subject for any permissions assigned to the file or the directory where it resides.
- a private URL which makes the file accessible to the developer of the application.
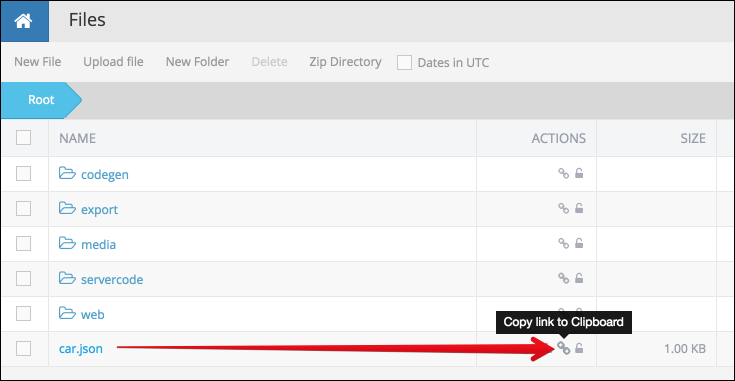
In order to obtain the public URL:
- Select a directory containing a file on the Files screen of Backendless console.
- Click the Get Public URL icon next to the file. Backendless console copies the file's public URL to the computer's clipboard:
To get file's private URL:
Right click file name and select "Copy Link Address" (text of the menu may vary depending on the browser):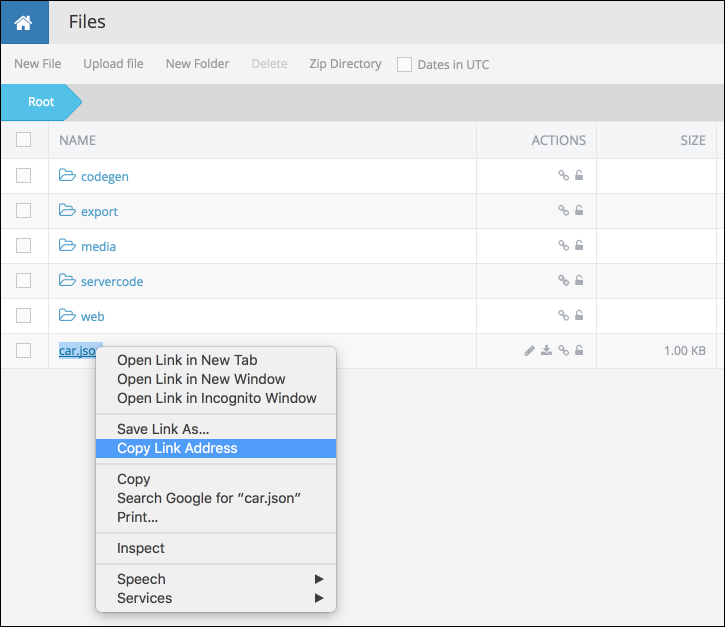
File's private URL works only if the request to download the file contains the auth-key HTTP header. The value of the header is a token assigned by Backendless to the developer login to console.
Archiving Files
Backendless Console includes a feature enabling to compress directories into a single ZIP file. The feature applies specifically to directories, meaning an individual file cannot be compressed - it must be placed into a directory first.
Notice: archiving of directories with total content size greater than 100 Mb may take longer time; Backendless sends an email to the application developer upon successful completion of the operation.
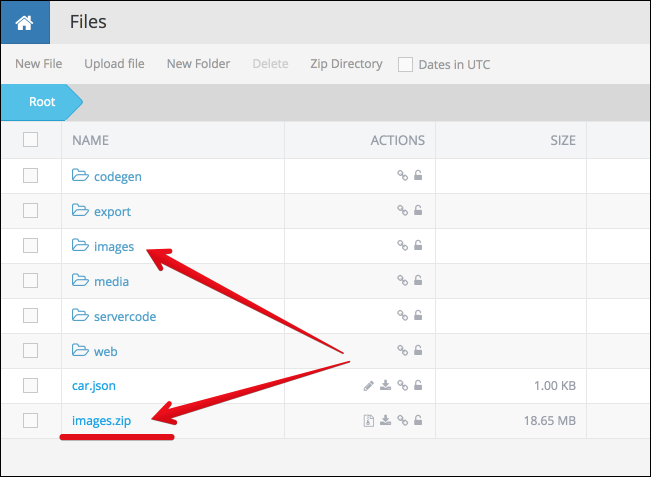
To archive a directory:
- Log in to Backendless Console, select an application and click the Files icon.
- Navigate to a directory which should be compressed.
- Click the ZIP Directory button:
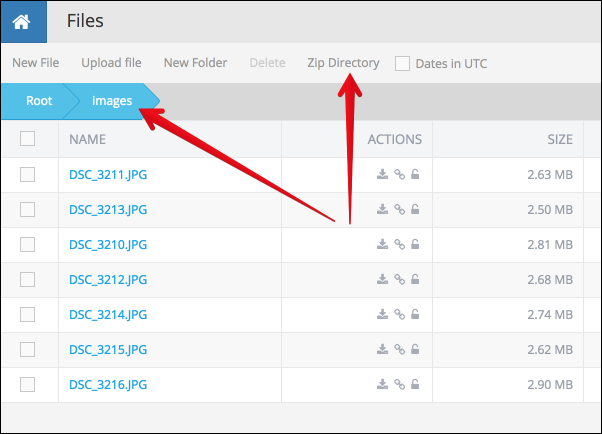
- Once the directory is compressed into an archive, it will appear in the parent directory: