Relations Overview
A data object stored in Backendless may reference other objects from the same or other data tables. These references are called relations. When an object references a single object, it is a one-to-one relation. If a reference is for a collection of objects, it is a one-to-many relation. Relations can be established using either API or Backendless Console. When working with console, a relation in a table must be declared through a relation column. Console allows two types of relation columns: data object(s) relationship and geopoint(s) relationship. The former identifies a relation between two data tables, while the latter declares a relationship between a data table and the geopoint storage.
For the API reference, see the following sections:
The rest of this chapter describes relationship management using Backendless console.
Declaring a Relation Between Tables
Creating Relations Between Objects in Related Tables
Editing (Update/Delete) Relations
Declaring a Relation Between Tables
The instructions below describe how to declare a relation between two tables. As an example, the instructions below create a relation column addressin the Person table. The new column will reference the Address table:
- Select the Person table where a relation column should be declared.
- Click the Schema menu.
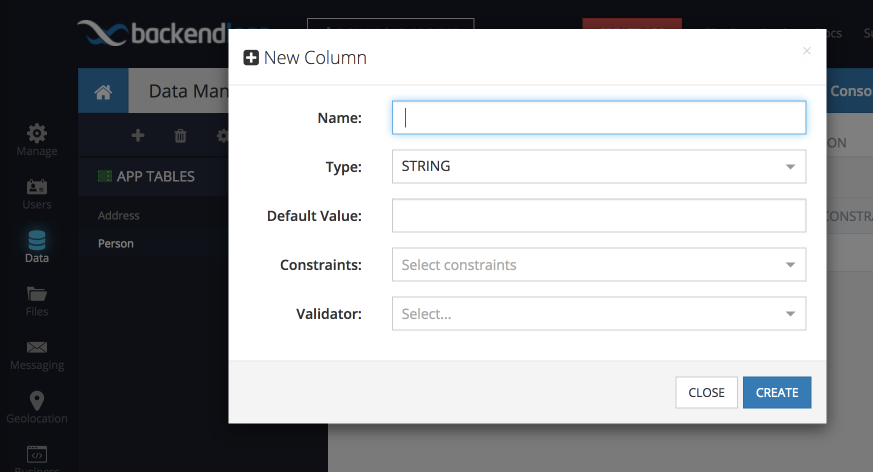
- Click the New button. The pop-up window will display as shown below:

- Enter column name that will identify the relation.
- Click the Type drop-down list and select the Data Object Relationship option.
- Select a related table and the cardinality of the relations from the corresponding drop-down menus. The one-to-one relation means that a table's object can be linked with only one object from the related table. The one-to-many relation means that a table's object can be linked with more than one object from the related table.

- Click CREATE to save the changes.

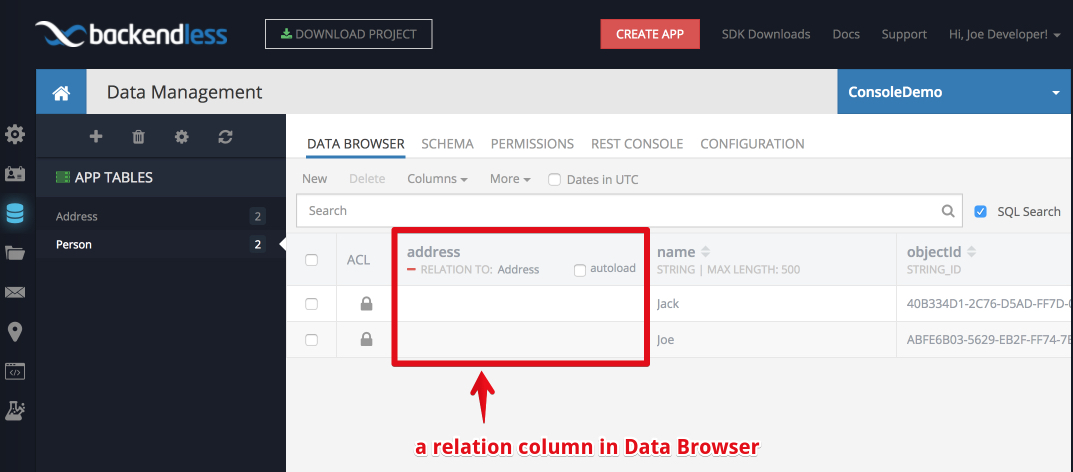
Once a relationship column is declared, it will appear along other columns in the Data Browser view of the Backendless Console.
Creating Relations Between Objects in Related Tables
Once you have declared a relation between table schemas, you can establish a relation between objects in these tables. Follow the instructions below to link the objects:
- Click the table name where you declared a relation. Console displays the columns representing relations slightly different than the other ones. The header for these columns includes:
- name of the related table;
- relation type (cardinality) visualized as either a single red line for one-to-one relations or three red lines for one-to-many relations;
- the "auto-load" checkbox.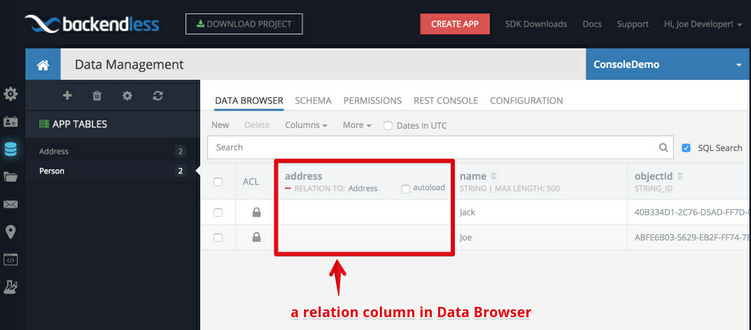
- Every object in the table displays a plus icon on mouse hover which can be used to create a relation between that object and one from the related table:
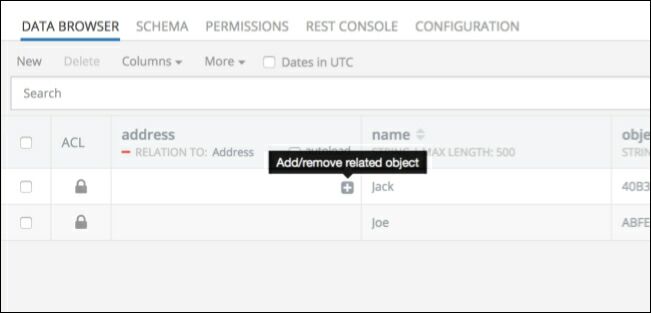
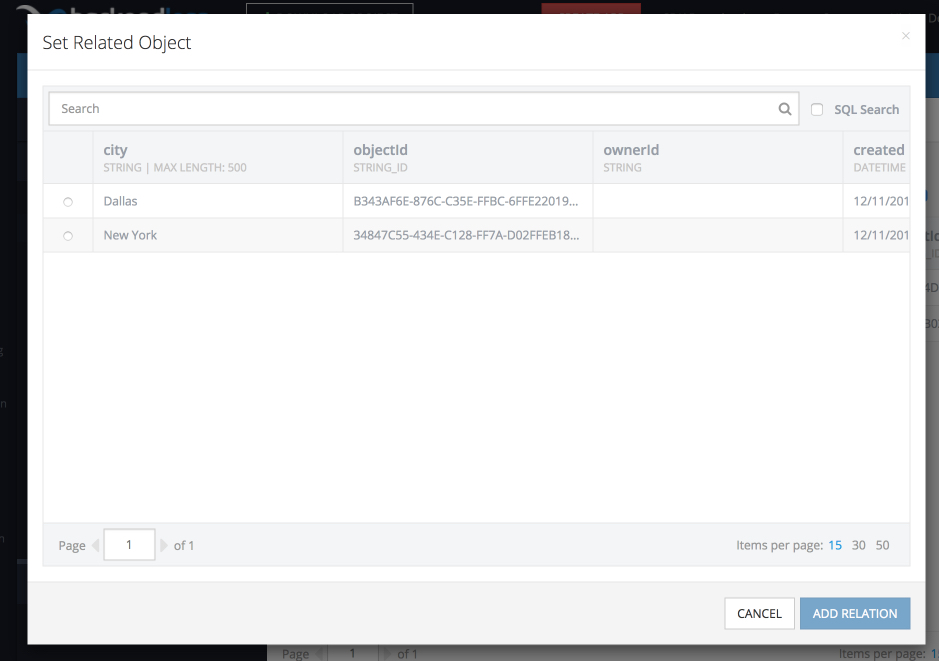
- Click the plus icon for the object to create a relation. The Set Related Object pop-up window will display the list of objects from the related table.
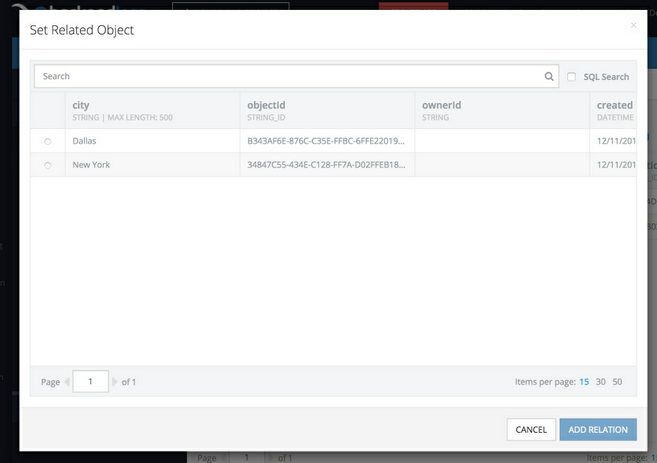
- Each object in the displayed popup has either a radio button or a checkbox next to the object's data. Radio buttons are used for one-to-one relations, while checkboxes apply for the one-to-many relations. Select the object(s) which will be linked to the parent object.
- Click the ADD RELATION button to save the changes.
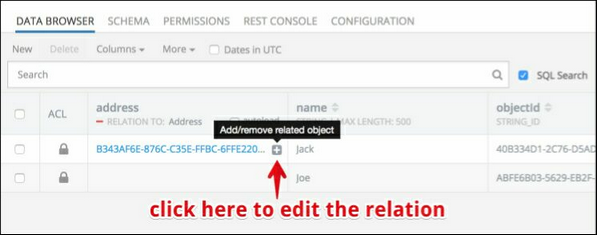
- Once a relation between the objects is established, the related object(s) appear as hyperlinks which can be clicked to navigate to them:

Editing (Update/Delete) Relations
You can edit the relations between the data objects. Editing a relation allows changing the related object or breaking the relation between the objects.
- Click the name of the table containing the object with relations. Click the plus icon in the cell displaying the related object (the same plus icon you used to create a relation above):
- The Set Related Object pop-up window will open and display the related object. If you want to link a data object with other object(s), click the radio-button or check-box(s) next to the necessary object(s).
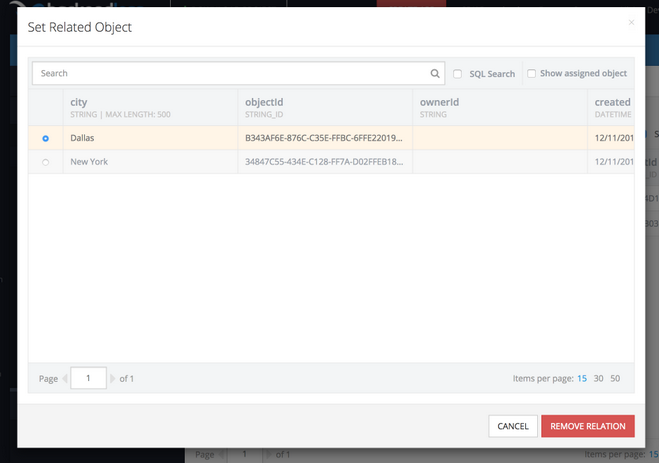
- Depending on the made changes, the action button at the bottom of the popup will say either REMOVE RELATION or UPDATE RELATION. Click the button to finalize the changes.

Deleting Relation Column
When a relation column is deleted, all references between the related objects are also removed. This operation does not delete the actual objects - it removes the column and any references between the related objects.
To delete a relation column using the Backendless Console:
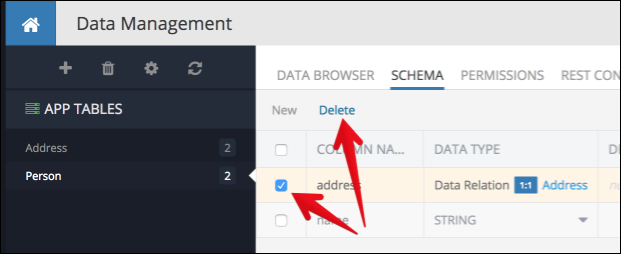
- Click the name of the table where you want to delete a relation column.
- Click the Schema menu
- Click the check-box next to the column you need to delete.
- Click the Delete menu: