Location-Based Product and Service Listings
Listings created using this App Blueprint can include a location. When a location is selected on the listing form, upon submitting the form the address is saved in the database, and the precise latitude and longitude are automatically generated from the Google Maps API. (You will need your own Google Maps API key to make this work in the blueprint.)
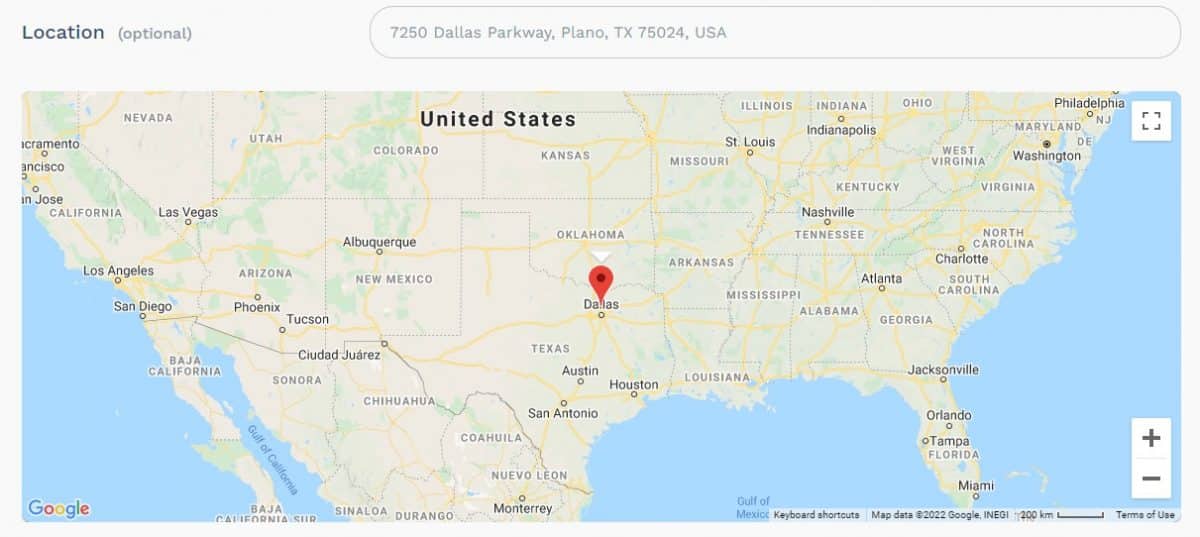
With the location stored, you can then display the location of each listing to the user, as in the demo app.
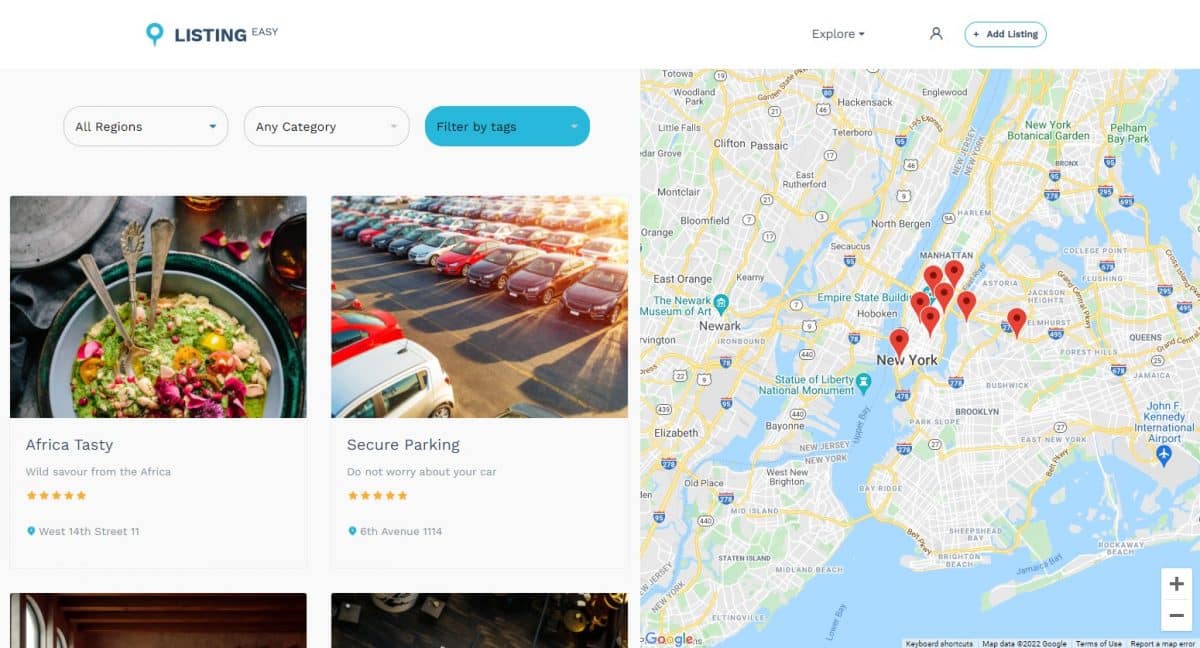
Instructions for adding your Google Maps API key are included in the blueprint’s instructions.
Payment Processing With Stripe
The blueprint includes a professional pricing page where you can provide prices for your services, such as the price to list an item on your marketplace.
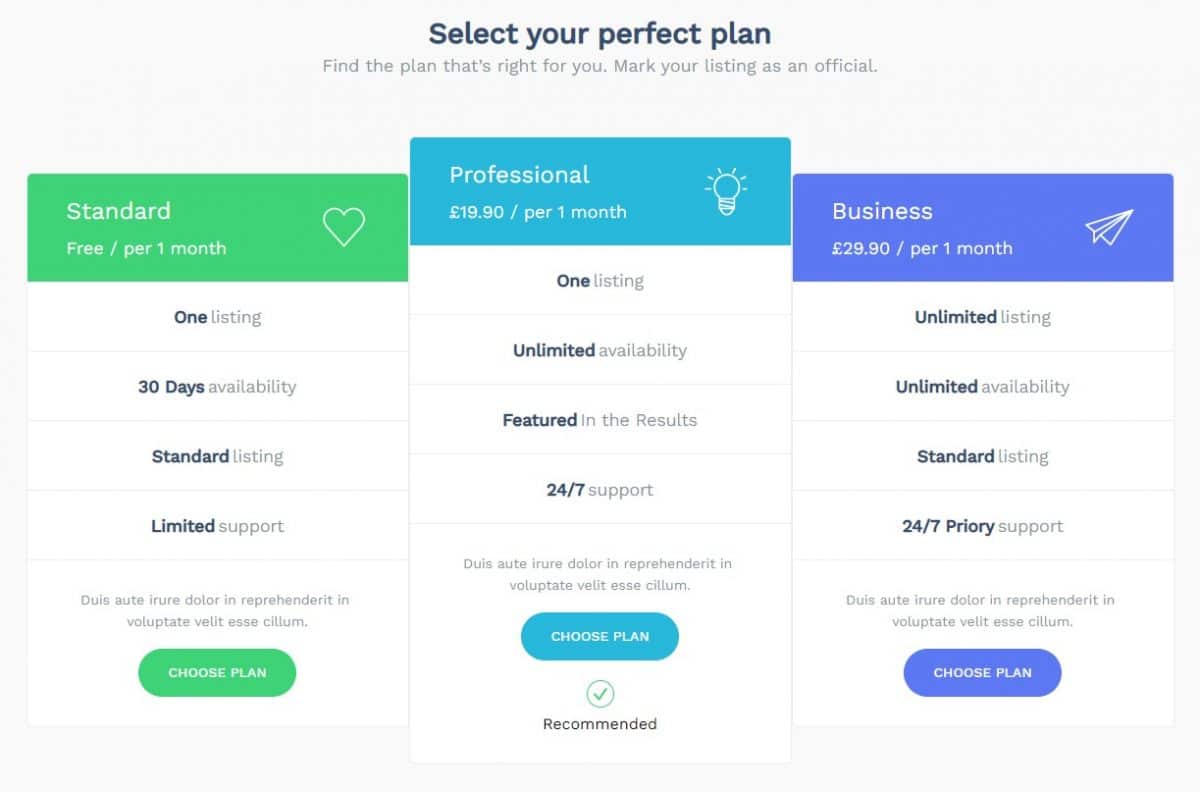
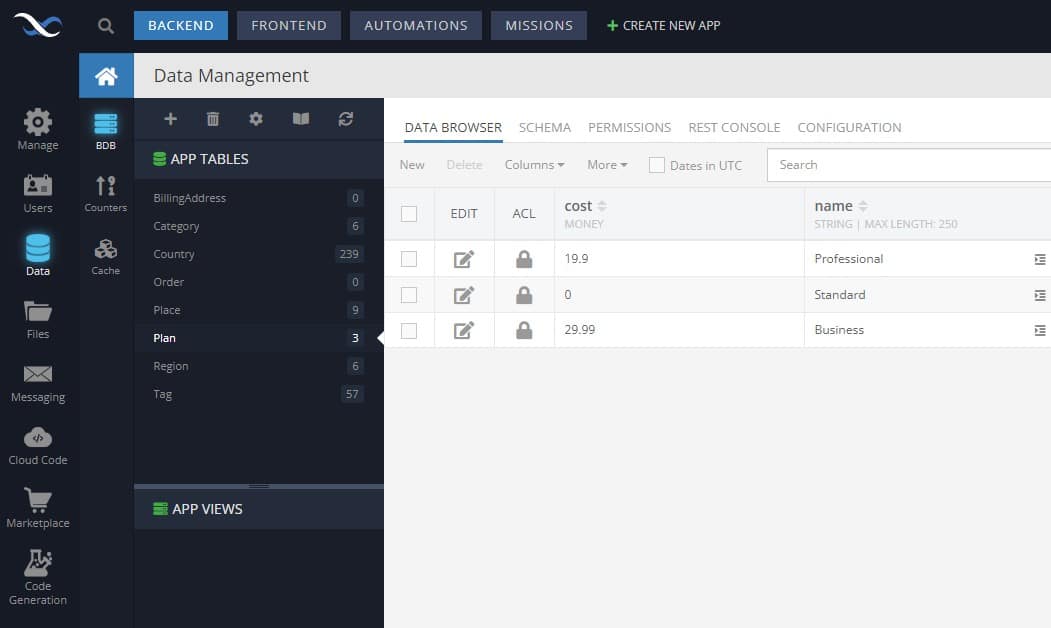
The pricing options are set in the database, meaning you can quickly and easily modify the options. We talk more about how our blueprints rely on database-driven content here. For this app, you can see the pricing options in the Plan table.
In the demo app, selecting one of the pricing options will take you to the form where the user would fill in the listing details. We’ll come back to that in the next section of this article.
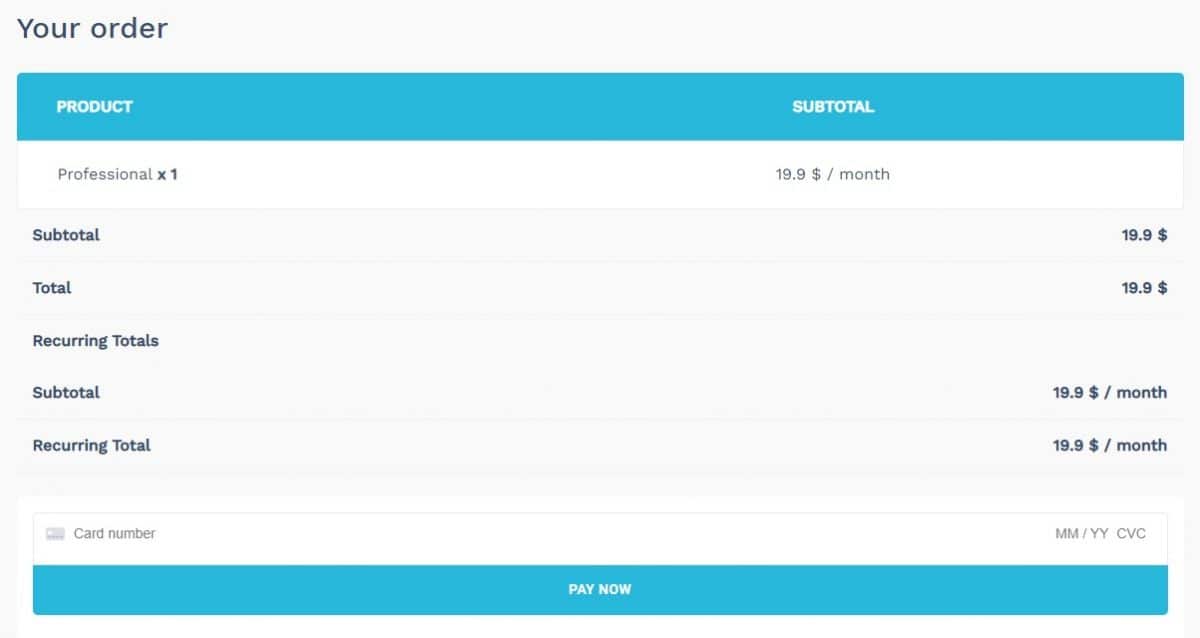
For now, we want to look at the payment screen. The page Checkout in the blueprint is where you will find the complete payment processing form. With this form, you can see how to set up your own payment processing, or checkout, page.
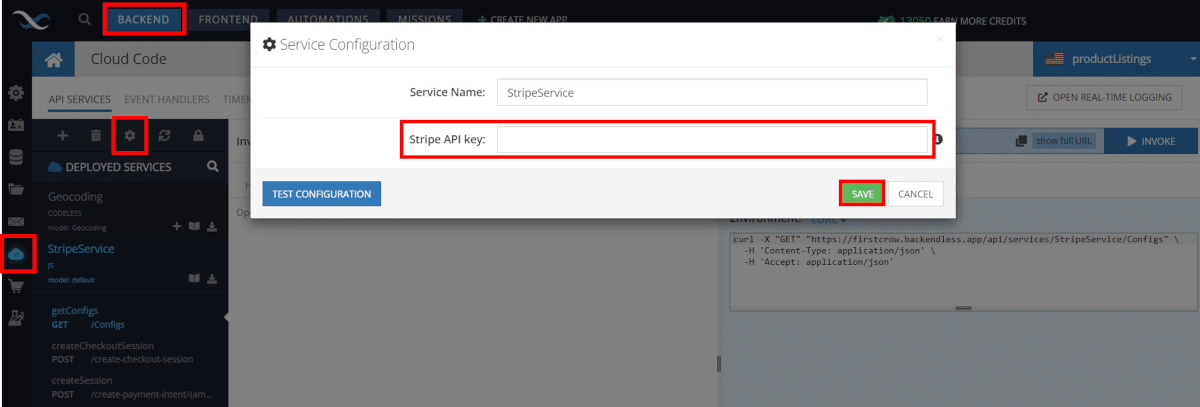
Included in the checkout process is the Stripe API. For Stripe payment to work, you need to go to the Backend section, click the Business Logic section, then under API Services, select StripeService and click the gear.
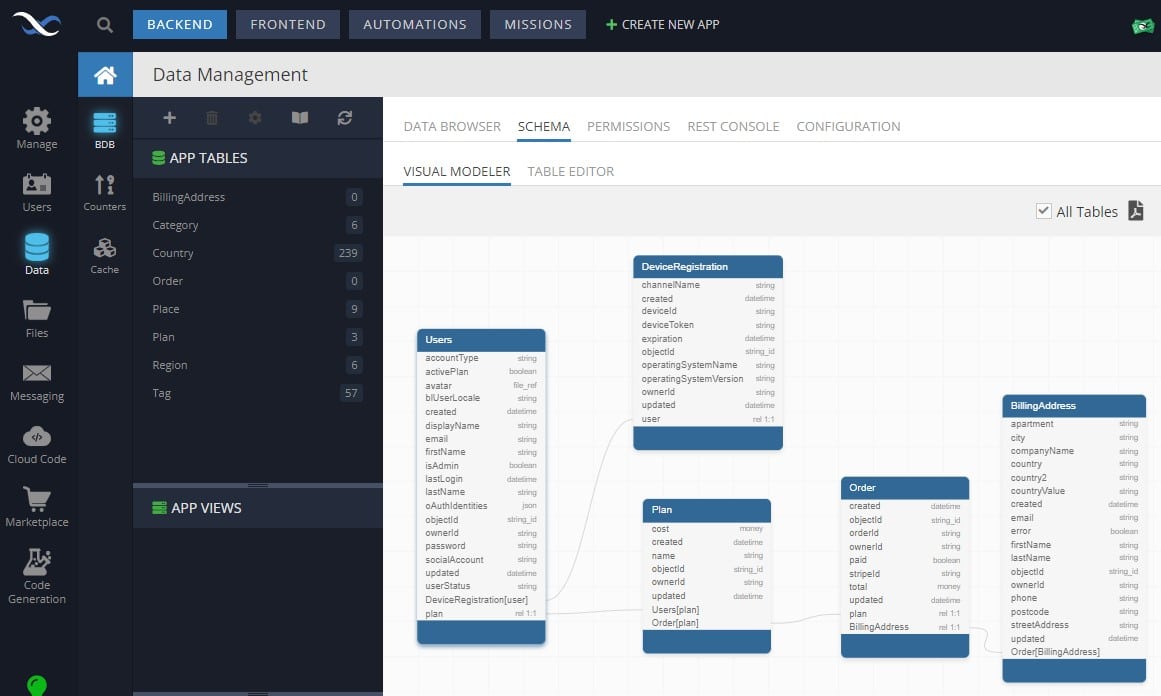
The selected plan (object in the Plan table) and the submitted listing (object in the Place table) are both connected to the user in the Users table. Purchases are displayed in the Order table and related to the Plan table as well. These relationships are easily visualized using our Visual Modeler.
User-Submitted Listings
Finally, the Product Listings App Blueprint is helpful in that it showcases how to create custom form for users to submit their own listings. Users that want to submit must create an account because, as stated above, all listings are linked to the Users table on the backend.
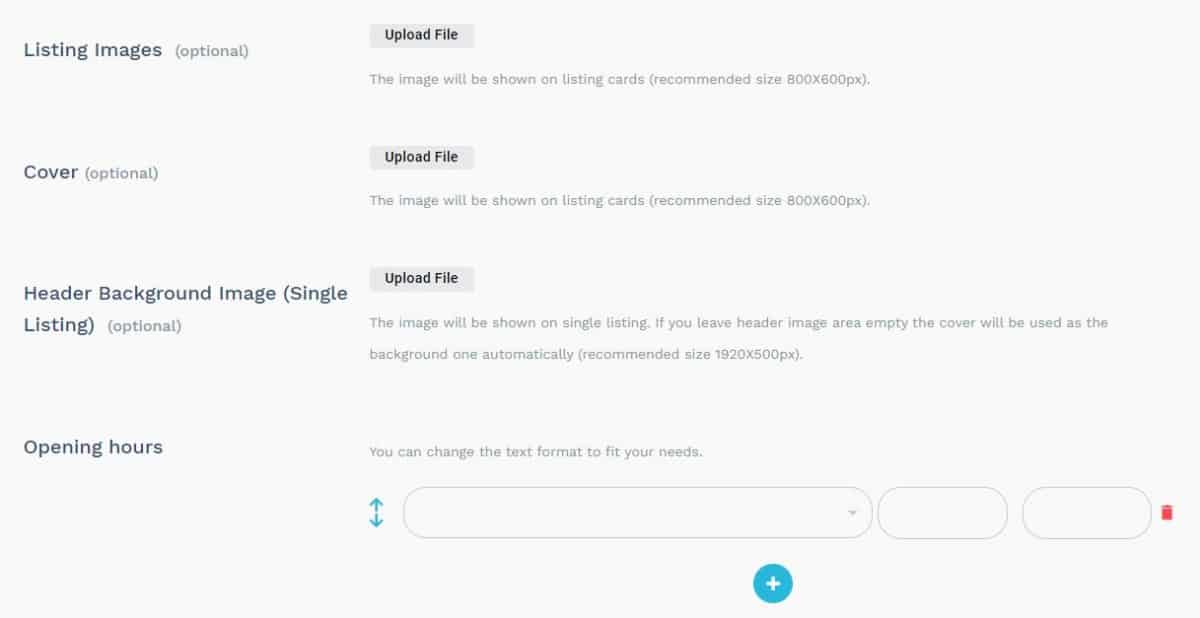
The PostAListingForm page includes a variety of unique features. For example, this form showcases how to allow users to upload images from the UI and how to input multiple values using the operating hours section.
The Post a Listing form also includes multiple dropdown lists, such as Category and Region. These lists are populated from the database tables of the same names. You can add, remove, or modify the items in these lists easily without having to republish the app, simply by making changes in the database.
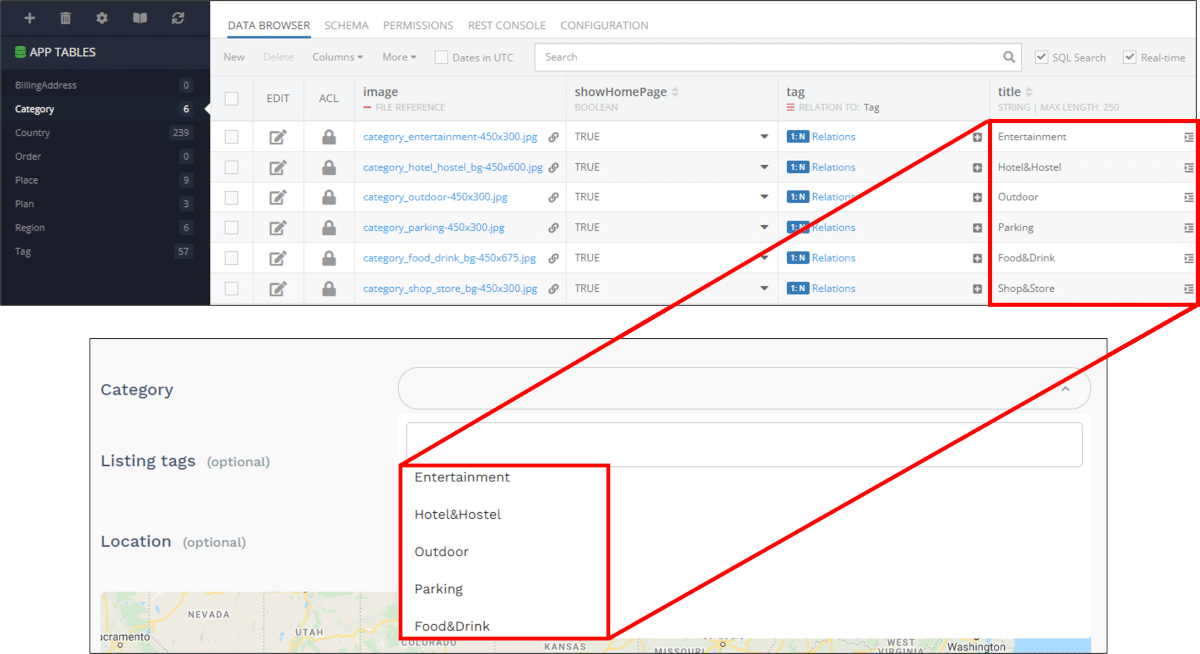
Dropdown List Search & Filter
The aforementioned dropdown lists are custom built, not the standard dropdown component included in UI Builder. This is because they are built to include functionality for the user to search the list with text.
To achieve this effect, the component uses a combination of UI Themes and Codeless logic. You can view the logic used to filter the list based on the text entered by clicking the puzzle icon on the block component.
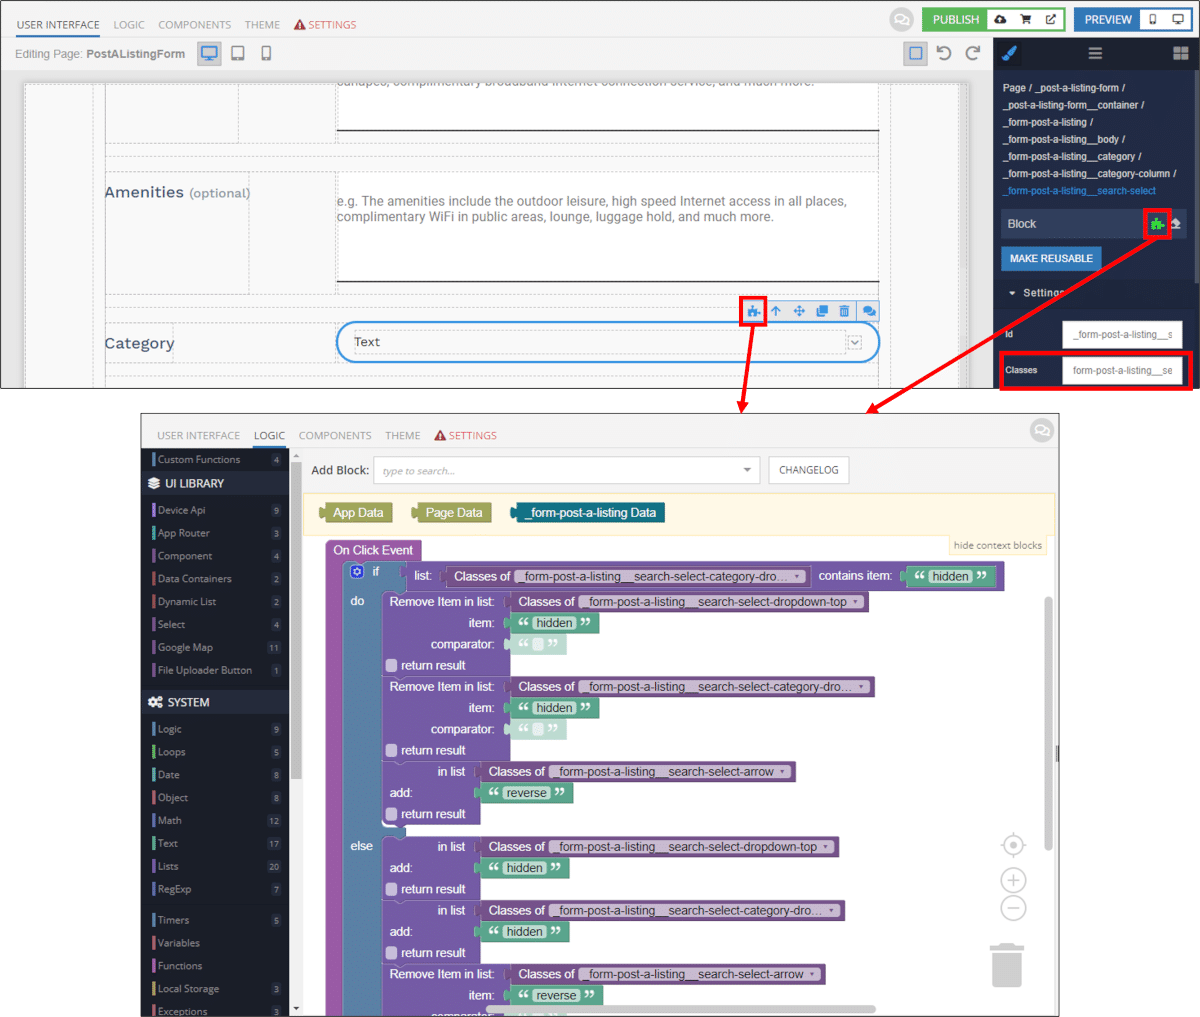
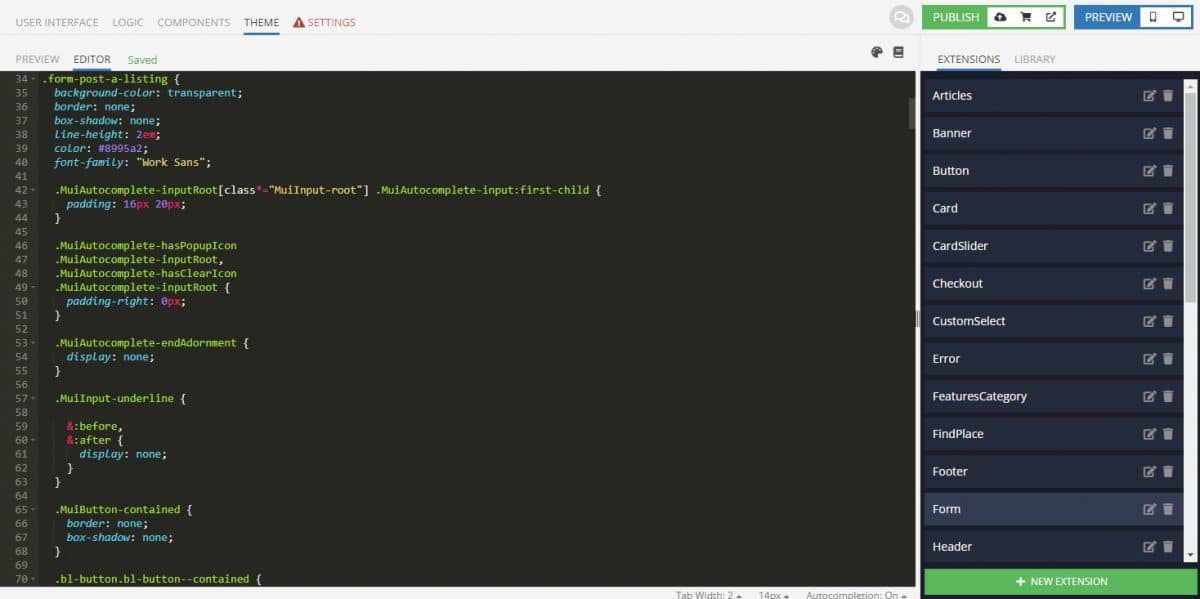
The Classes box (highlighted above) tells you which Theme Extensions you want to look at to see how the dropdown is visualized. Under the Theme tab, you will see the various customizations added. For the dropdowns, you will want to look at the Form extension.
Closing
The Product Listings App Blueprint showcases how to implement location-based search, Stripe plugin integration, and filterable dropdown lists, among other valuable elements. Most importantly, it provides you with a template to follow for a variety of key Backendless functions.
Backendless offers tons of tutorials that you can access for free to learn how more about these powerful functions.
Happy Codeless Coding!
