How To Create A Database View
In this article, we detail how to create your first view in Backendless Database. This is Part 1 of our deep dive into the Views feature in Backendless.
Follow the links below to read the other parts of this series.
- Part 2 – How To Transform View Values
- Part 3 – How To Aggregate View Values
- Part 4 – How To Filter/Add Conditions To View Data
Views are a powerful way to take advantage of the many features in Backendless Database. Views let you do a ton of different things with your data, such as retrieve relational data, massage it, aggregate it, rename properties, group, etc.
Views let you access all of these features without having to master the inner workings of the Data APIs. Instead, you craft your query visually as a view, then use the built-in View Code Generator to plug the view’s query into your application.
Note that all views use the same underlying data. If the data is modified in the database, it will be updated in all views that utilize that data.
For this article series, we’re going to use an example database of fictitious movies. We have a table for films with a variety of relations such as category, actors, actresses, and language.
You can read our overview of views here. You can also watch our full Views Playlist here.
Creating a View
To create a view, click the + icon just as you would to create a table. You will now be given a choice between creating a table or a view.
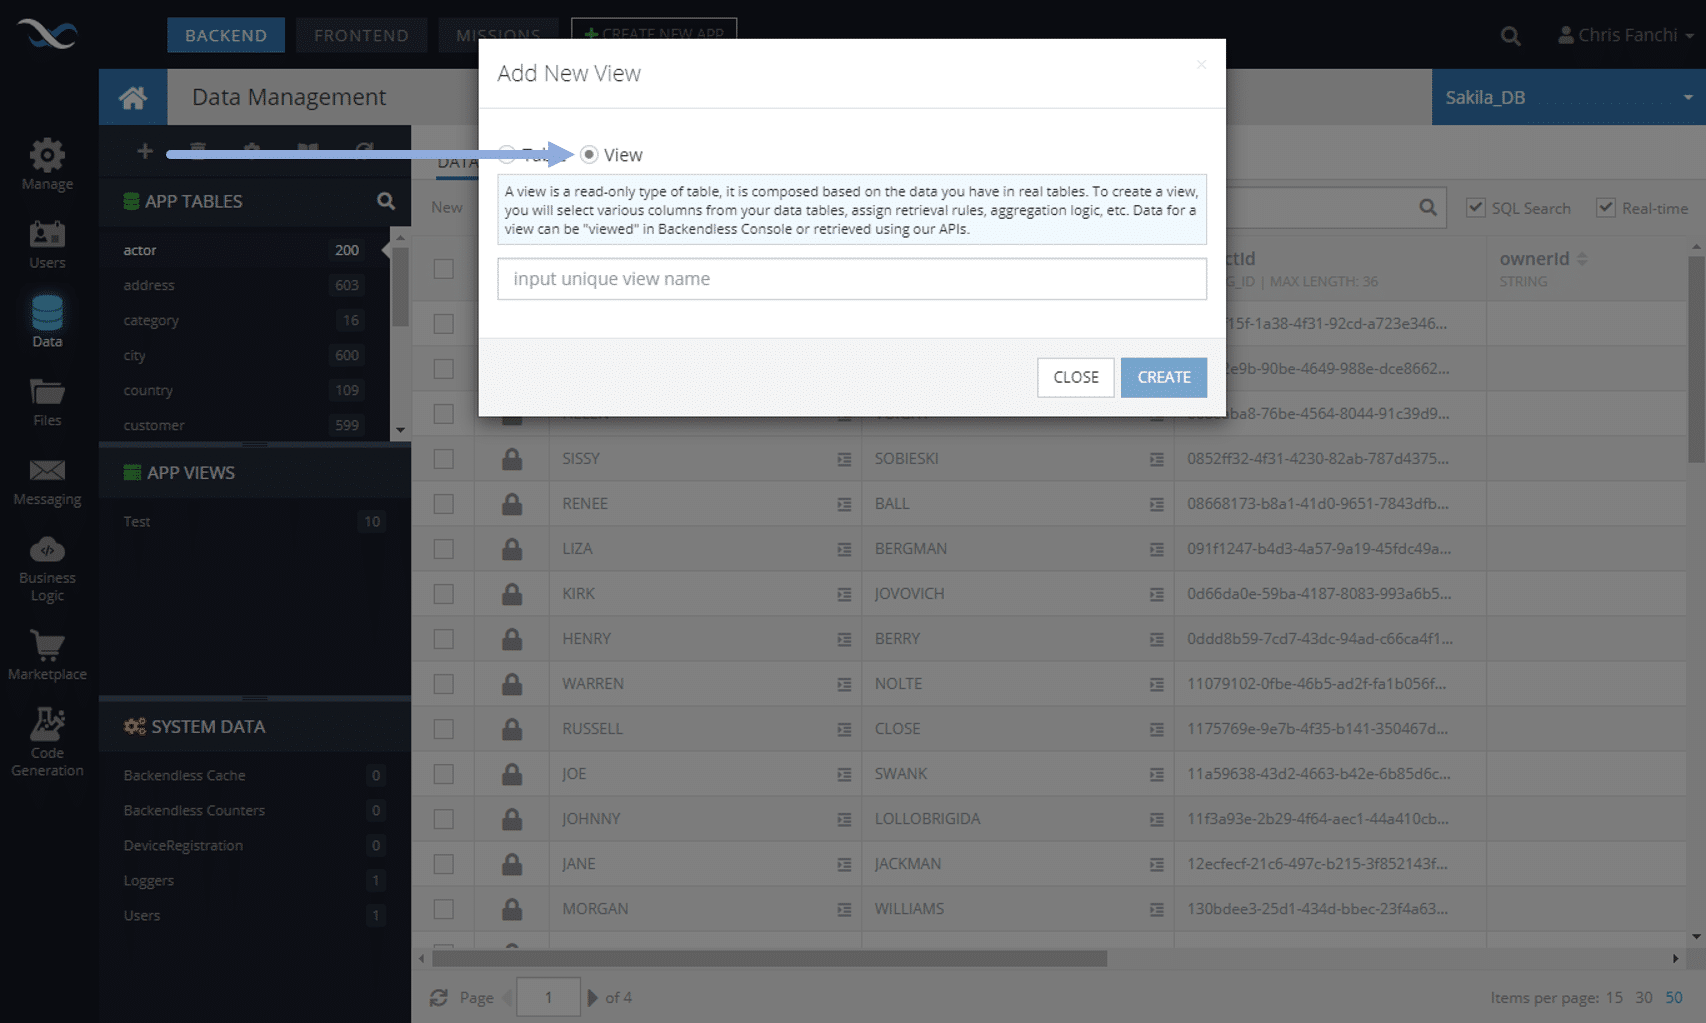
The view name can contain any characters including space, dash, etc,, and may be in any language. When a view is created, it shows up in a section called App Views:

Designing a View
To design a view, you simply select the + next to the columns you want to use. The first thing that we will need to do is select our “root” table.
The root table is going to define the scope of your view, so choosing the correct root table is very important. The scope of the view is all of the related tables that will be accessible through this view. Remember, you cannot add columns from unrelated tables to your view.
For our first example, we will select the column title from the film table.
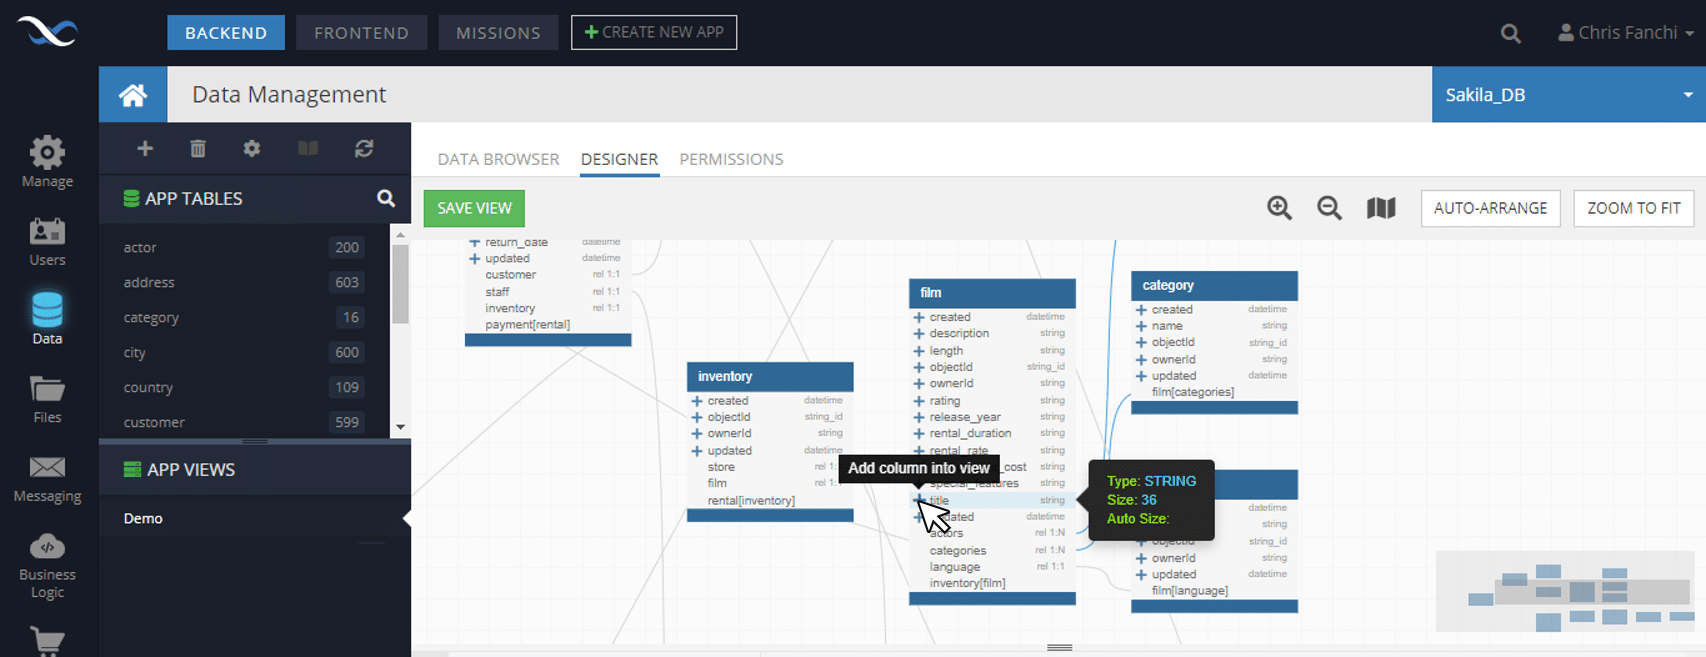
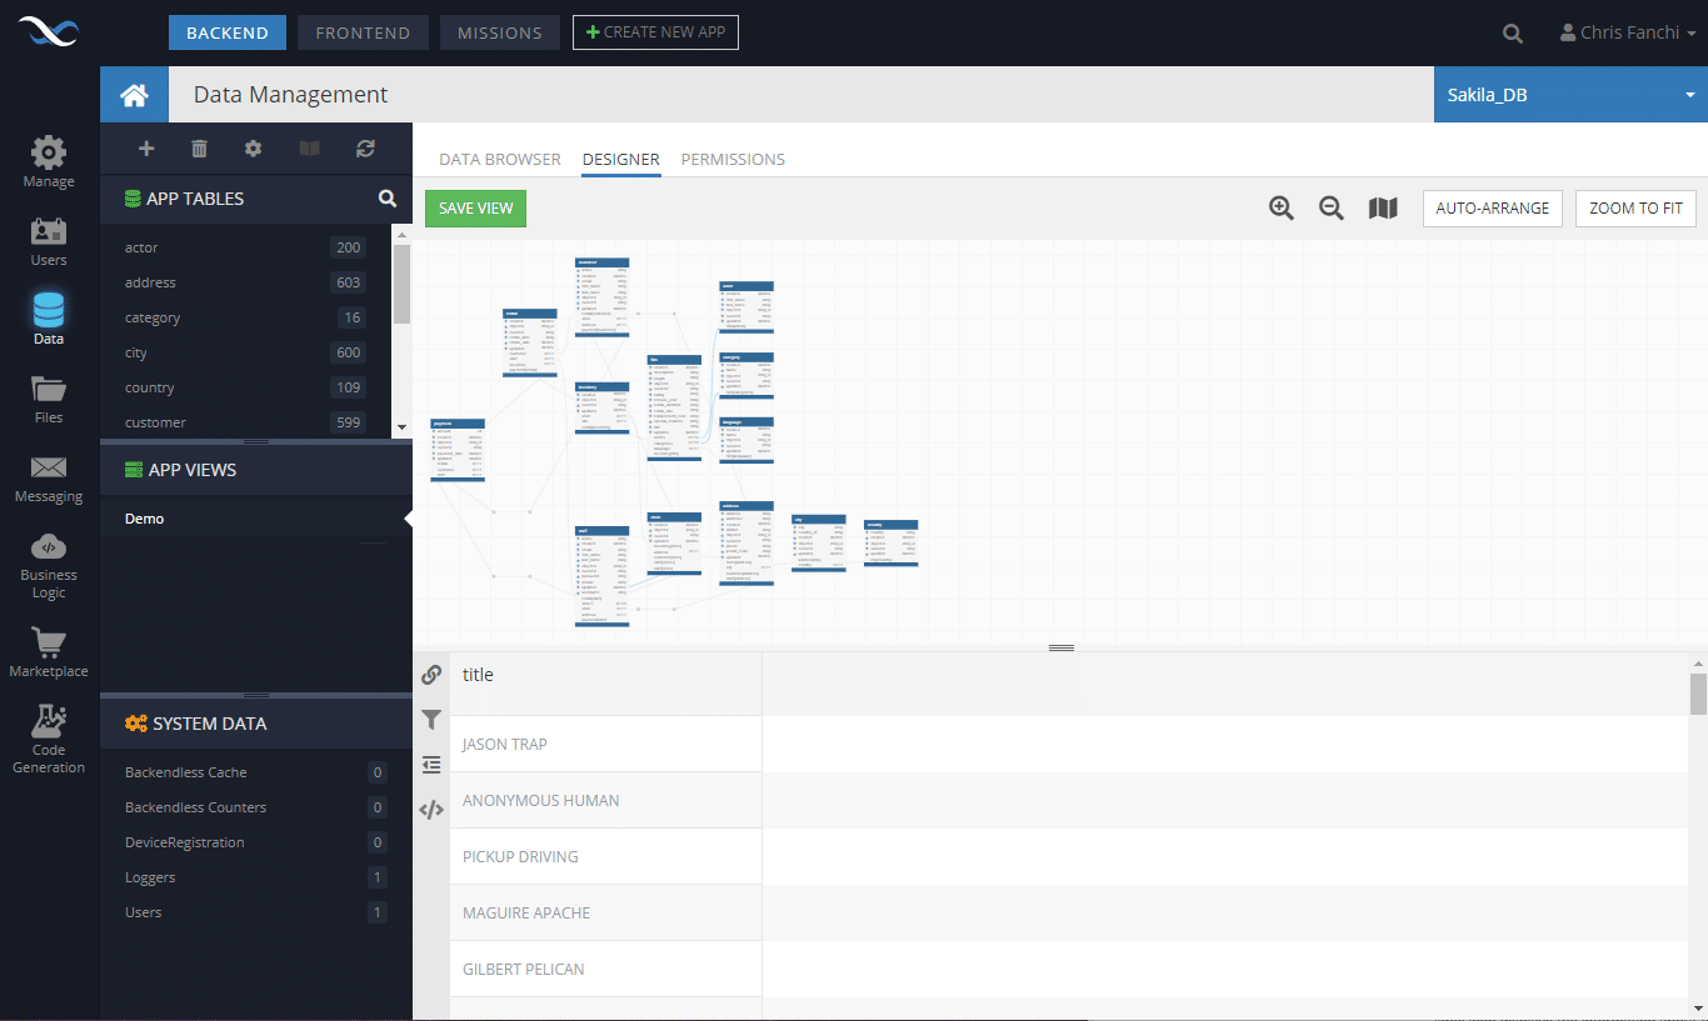
When a column is selected, the view automatically shows data for the selected column. Since the film table is our root, any and all related tables in its tree (both children and the parent) will be used as the scope (or “context”) of the view.
Once the context of the view is established by identifying the root table, you can select the columns from any of the related tables.
You can delete any column from the view by clicking the x icon that appears on the right-hand side of the column when you mouse over it. In order to choose a new root table, you will need to delete all columns from the view.
When adding additional columns, the system will pull all combinations of the new column tied to the root column. For example, since our root column is title, if we next select the column last_name from the actor table, we will see an instance of the film title for each actor in the film.
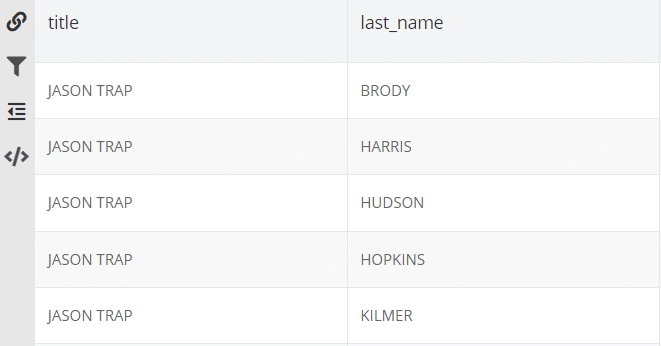
This duplication will only occur if the relationship is one-to-many. If it were a one-to-one relationship – such as film title and domestic release date – we would only see one instance of each title.
Column Alias
Let’s say we want the view to display the category and language for the film. In our database schema, the category is identified by a column name and the language is also identified by a column name. If we add both of these columns to our view, this is what we’ll see:
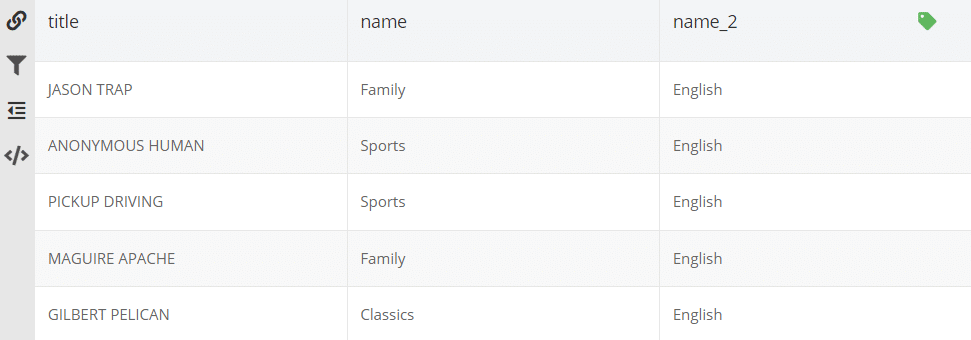
As you can see, since the columns have the same name, the system automatically created a new alias for the second column with the name name. The green “label” icon on the column name_2 indicates that the column is using an alias.
Columns added to a view can be renamed using the aliasing feature. To create or edit an alias, click the label icon. When an alias is assigned, the icon becomes green; otherwise, it is gray.
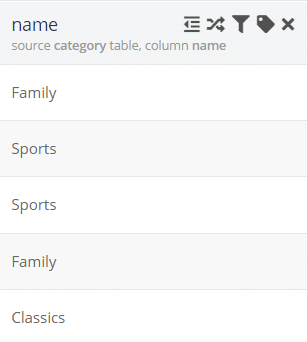
When you mouse over a view column, you will see all of the special functions (we will cover them all in this series) as well as the column’s source table and column name.
Back to our example, name_2 isn’t very pretty, nor is it very helpful in knowing what data that column is displaying. Let’s rename both of the name columns to be more useful.
Let’s rename the category name to filmCategory and the language name to filmLanguage. We can also rename title to filmTitle if we want to make it more clear as well.
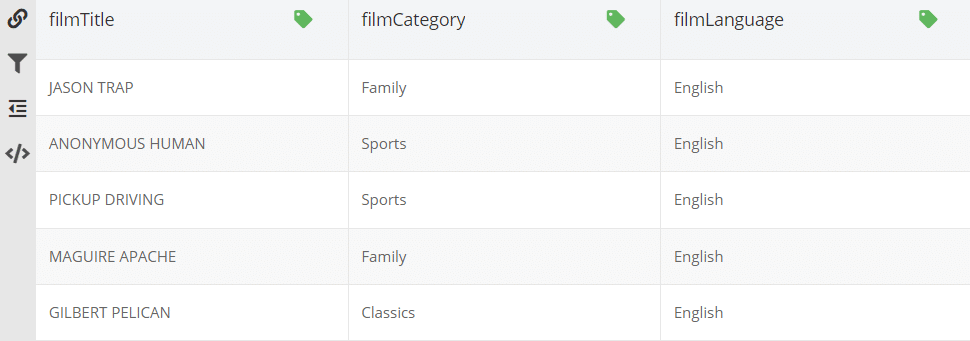
As you can see, each of the columns now has a green label icon indicating that it has a custom alias.
Fetching View Data Via API
Now that we have our view set up, let’s see what the data looks like when we retrieve it via API. Later in this series, we will show you how to automatically generate the view API URL, but for this example, we want to show you the most basic approach.
First, let’s look at how we would retrieve the data from a single table via API. When you select a table and click on the REST Console tab, you see the API URL to view that table’s data.

Click the “copy” icon to copy the API and paste it into a new browser window. Then, simply replace the table name (in this case, film) with the name of the view.

As you can see, the data from our view is displayed, with the column aliases we created being utilized rather than the original column names.
Next in our views series, we will take a look at Transforming View Values.
Thanks for reading and Happy Codeless Coding!