Blog
How to Upload Files to the Server With the File Upload API
There are several ways to upload file content to the server:
- The traditional approach where a physical file from the client environment is uploaded using the API.
- Creating a remote file with content generated on the client-side.
In this article, we will review the first option – uploading a file with the API.
Once a file is uploaded, the File Service enables the following:
- You can see the file in File Browser in Backendless Console.
- The file can be downloaded via a URL assigned to it. The URL is composed as:
https://api.backendless.com/<application id>/<version name>/files/<path>/<file name>
- The application developer can assign permissions to control who (users or roles) can download or delete the file.
- If git integration is enabled for the application; the file is also committed to the repository.
The example below demonstrates the API for file upload:
   // create a file locally so there is something to upload
   String filename = "myhelloworld-async.txt";
   FileOutputStream fileOutputStream = new FileOutputStream(filename);
   fileOutputStream.write("Hello mbaas!\nUploading files is easy!".getBytes());
   fileOutputStream.close();

   final File file = new File(filename);

   // now upload the file
   Backendless.Files.upload(file, "/myfiles", new AsyncCallback() {
       @Override
       public void handleResponse(BackendlessFile uploadedFile) {
           Log.i(TAG, "File has been uploaded. File URL is - " + uploadedFile.getFileURL());
           file.delete();
       }

       @Override
       public void handleFault(BackendlessFault fault) {
           Log.e(TAG, fault.getMessage());
       }
   });
   // create a file locally so there is something to upload
   val filename = "myhelloworld-async.txt"
   val fileOutputStream = FileOutputStream(filename)
   fileOutputStream.write("Hello mbaas!\nUploading files is easy!".toByteArray())
   fileOutputStream.close()

   val file = File(filename)

   // now upload the file
   Backendless.Files.upload(file, "/myfiles", object : AsyncCallback {
       override fun handleResponse(uploadedFile: BackendlessFile) {
           Log.i(TAG, "File has been uploaded. File URL is - ${uploadedFile.fileURL}")
           file.delete()
       }

       override fun handleFault(fault: BackendlessFault) {
           Log.e(TAG, fault.message)
       }
   })
// create a file data so there is something to upload
NSData *data = [@"Hello mbaas!\nUploading files is easy!" dataUsingEncoding:NSUTF8StringEncoding];

// now upload the file
[Backendless.shared.file uploadFileWithFileName:@"myhelloworld.txt" filePath:@"myfiles" content:data overwrite: YES responseHandler:^(BackendlessFile *uploadedFile) {
    NSLog(@"File has been uploaded. File URL is - %@", uploadedFile.fileUrl);
} errorHandler:^(Fault *fault) {
    NSLog(@"Error: %@", fault.message);
}];
// create a file data so there is something to upload
if let data = "Hello mbaas!\nUploading files is easy!".data(using: .utf8) {

    // now upload the file
    Backendless.shared.file.uploadFile(fileName: "myhelloworld.txt", filePath: "myfiles", content: data, overwrite: true, responseHandler: { uploadedFile in
        print("File has been uploaded. File URL is - \(uploadedFile.fileUrl ?? "")")
    }, errorHandler: { fault in
        print("Error: \(fault)")
    })
}
const Backendless = require('backendless')
/*
 Or use `import Backendless from 'backendless'` for client side.
 If you don't use npm or yarn to install modules, you can add the following line
 <script src="//api.backendless.com/sdk/js/latest/backendless.min.js"></script>
 to your index.html file and use the global Backendless variable.
*/

Backendless.initApp('YOUR_APP_ID', 'YOUR_JS_API_KEY')

const handleFileSelect = event => {
  const { files } = event.target // FileList object

  for (let file of files) {
    Backendless.Files.upload(file, '/myFiles')
      .then(onSuccess, onError)
  }
}

const onSuccess = file => {
  console.log('Uploaded file URL - ' + file.fileURL)
}

const onError = error => {
  console.error('Server reported an error: ', error.message)
  console.error('error code: ', error.code)
  console.error('http status: ', error.status)
}
   // create a file locally so there is something to upload
   String filename = "myhelloworld-async.txt";
   File file = await File(filename).writeAsString("Hello mbaas!\nUploading files is easy!");

   Backendless.Files.upload(file, "/myfiles").then((response) {
     print("File has been uploaded. File URL is - " + response);
     file.delete();
   });
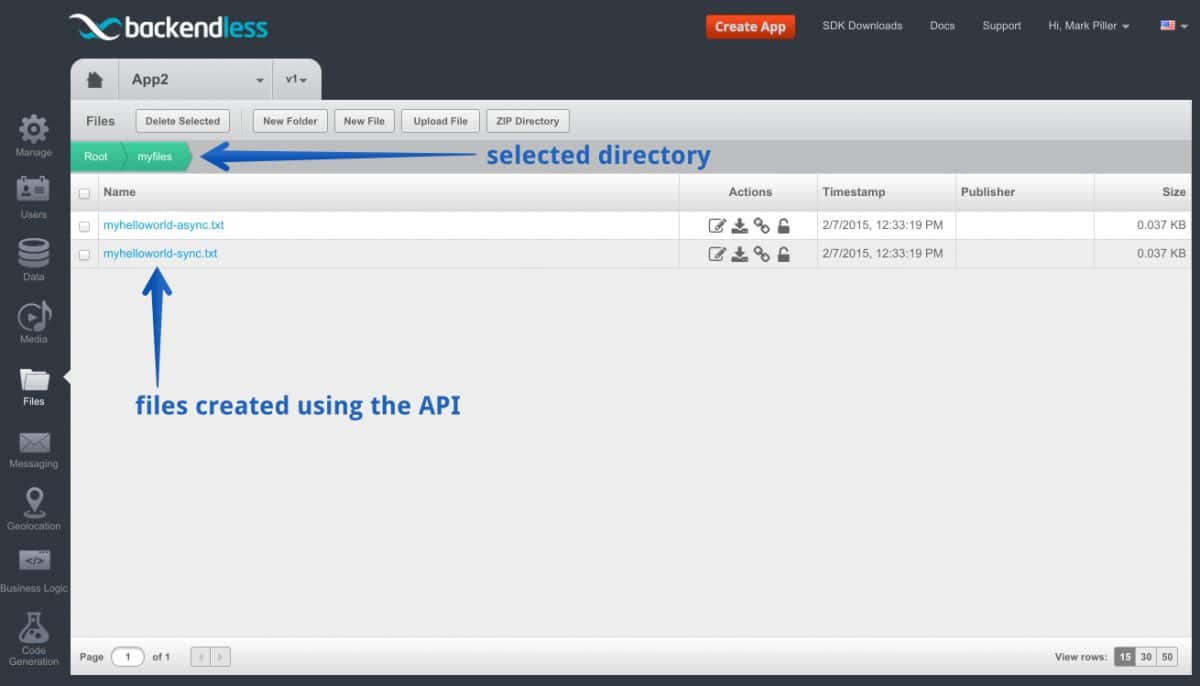
When you run the code and the files are uploaded, you can see them in Backendless Console. To do that:
- Login to Console, select your app and click the Files icon.
- You will see the “myfiles” directory created by the code above. Click the directory name to see its contents.
- You should see two files as shown in the screenshot below.

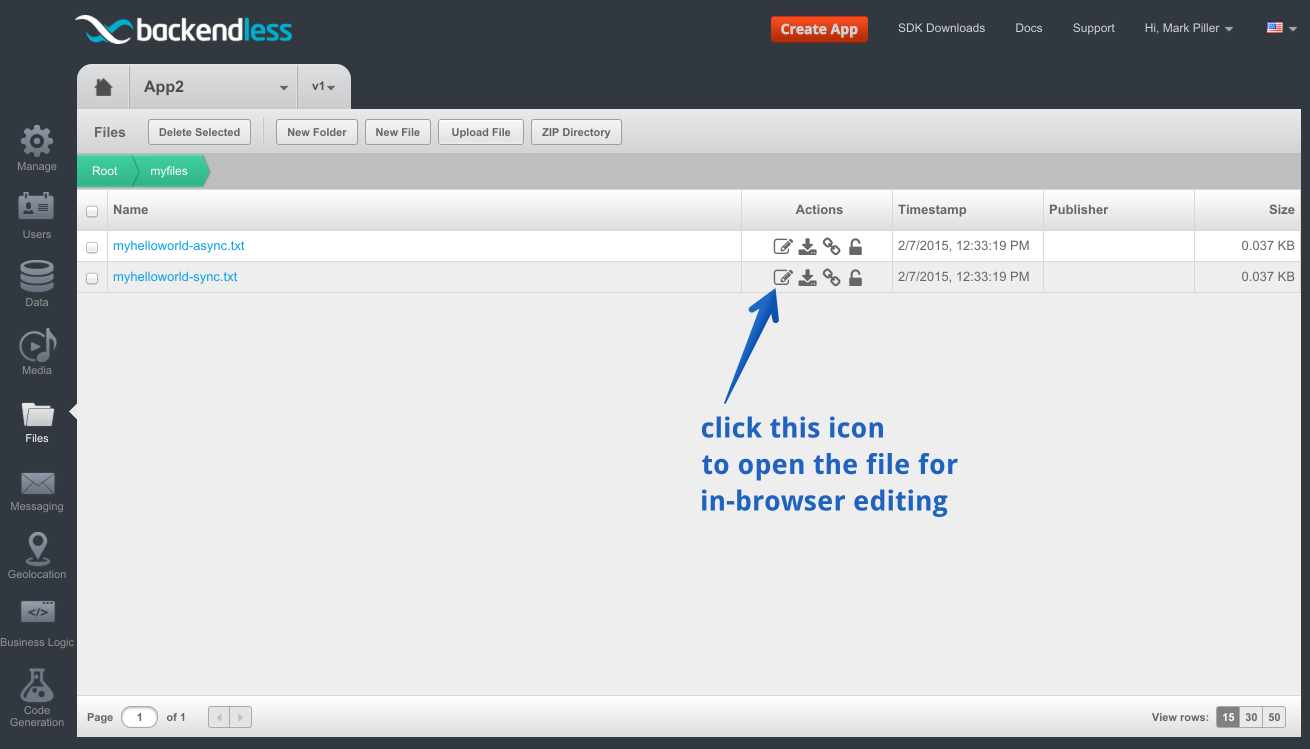
- To see the contents of the file, click the Edit file icon:

Enjoy!


I have created some files in the root directory some years ago and overwrite them with new uploaded data from my apps. With the new Swift API, I need to specify the “filePath” which was not required in the Objective-C API. How to set the “filePath” parameter to upload files to the root directory like it used to be? Thanks.
I didn’t get the part of how to integrate backendless into my swift project.
Please see this for instructions on how to integrate Backendless into your Swift project:
https://backendless.com/docs/ios/setup.html
What is the maximum size of file
Hi Vinod, the maximum upload file size is 1 GB.