How to Create a Cloud Code Timer in Backendless Console
In a previous post, we wrote about Backendless server-side timers – blocks of code which run on a pre-defined schedule. A timer is a Java class and can be created by hand. The most tedious part is figuring out the scheduling definition. Currently, this is done by declaring the timer’s schedule through a JSON object in the class’ annotation. Backendless Console significantly simplifies this process through a built-in code generator.
To create a timer:
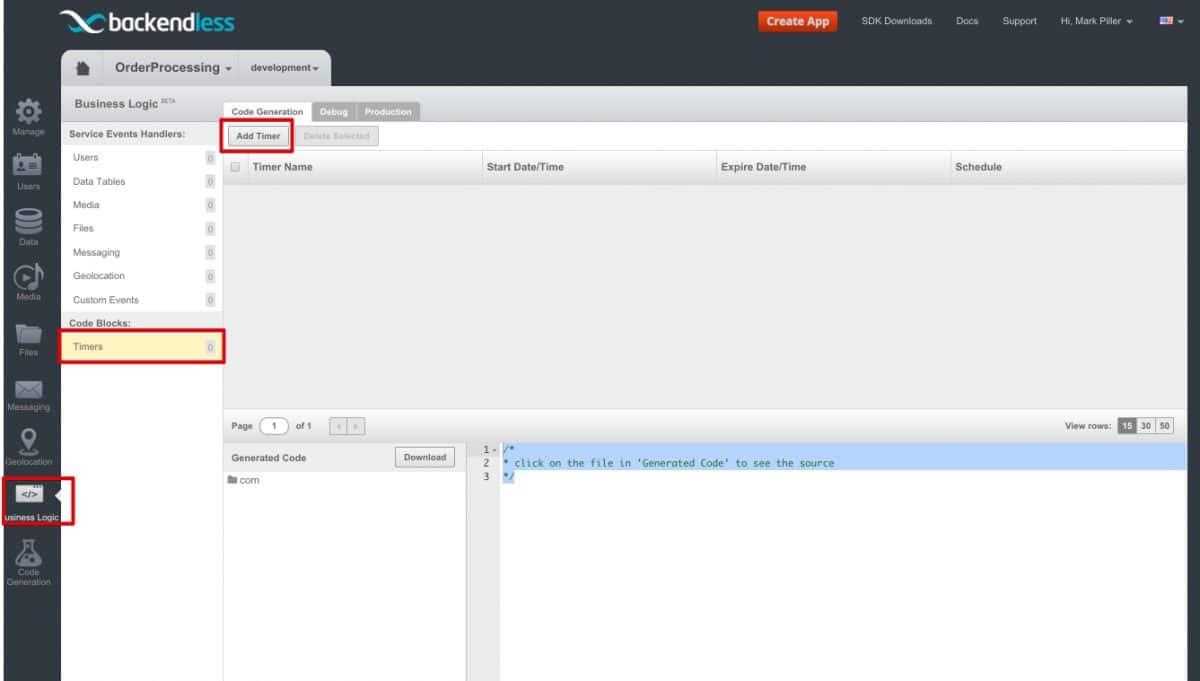
- Login to Backendless Console, select your app and click the Business Logic (Cloud Code) icon.
- Click Timers in the menu on the left.
- Click the Add Timer button:
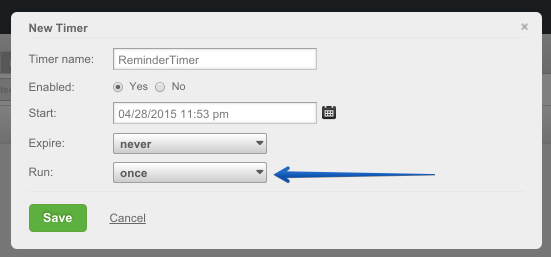
- The New Timer popup supports every single scheduling option. For example, creating a timer which runs only once:
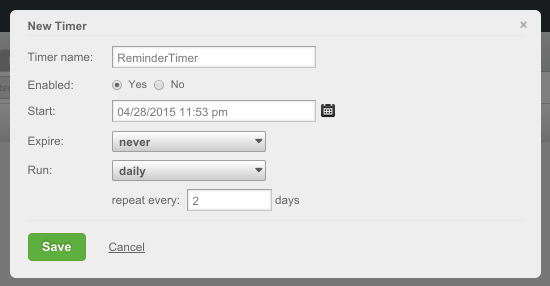
A timer that runs every two days:
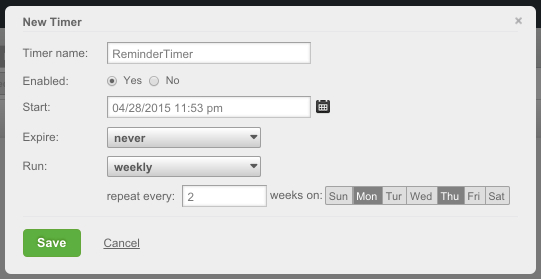
A timer that runs every 2 weeks on Mondays and Thursdays:
A timer which runs every February, May, and September on the first and last Sunday of these months:
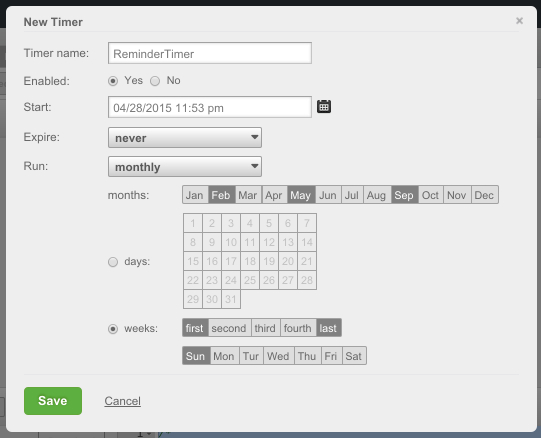
Whatever the scheduling selection happens to be, enter a name for the timer, optionally select an expiration date/time and click Save.
Backendless automatically generates the source code for the timer and lets you download the entire project with all the sources and dependencies – a huge time saver!
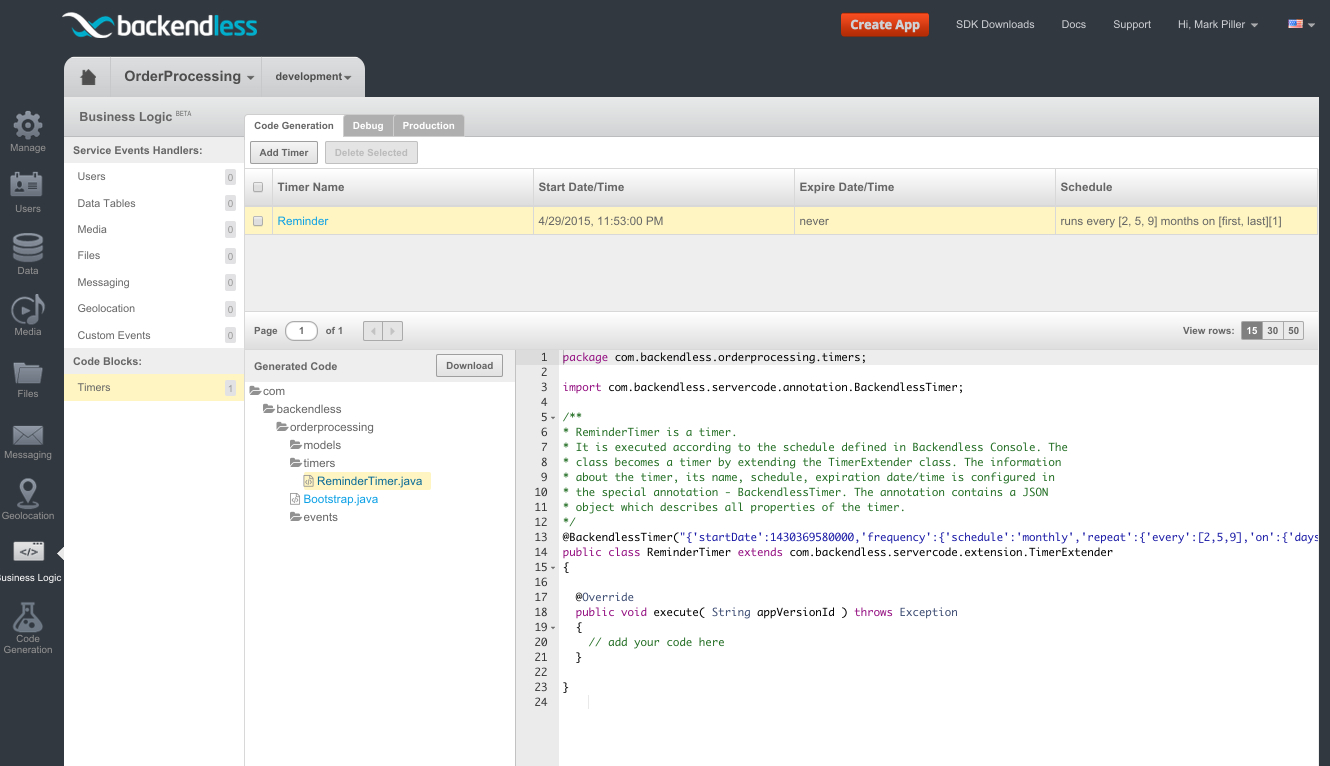
Now that you know how to write or generate Timer code, you are ready to proceed to adding custom code to it. This will be the subject of a future post.
Enjoy!


