Send An Automated SMS Message When Registering A New User
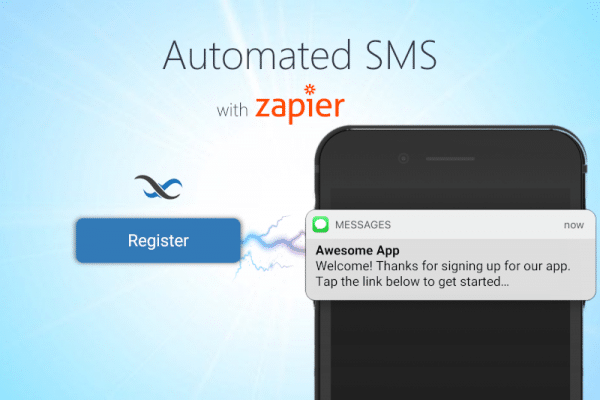
Automated SMS messages are a great way to help onboard users to your app. In this article, we show how easy it is to send an SMS message upon a new user registration using our Zapier integration.
SMS, or text messaging, is one of the most effective ways to engage your users. It is also a great way to create two-factor authentication (2FA) to prevent bots and malicious actors from spamming your registration process.
Backendless is incredibly feature rich, but no platform can cover every niche use case. That’s why we have a Zapier integration, allowing you to access thousands of third-party tools and quickly integrate them into your Backendless app.
Zapier can connect you with a variety of automation tools. These tools make it easy to automate time-consuming and time sensitive processes, like messages sent after every user registration.
In this demo, we will create an application that will implement the function of sending SMS to a specific phone number every time a new user registers in the app. This foundation will prepare you for applying automated SMS functionality in a variety of useful ways.
Backendless Setup
First, let’s set up our Backendless database and a simple registration form in UI Builder.
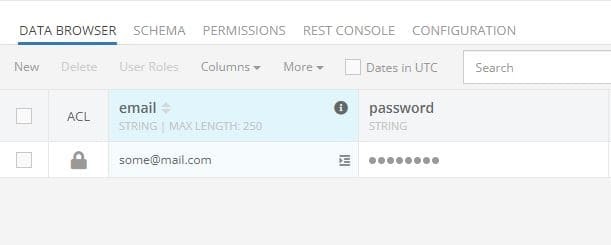
To store data about registered users, we will use the Backendless Users system table. This table is created automatically when you create a new app. In this table, we will use two fields: email and password.
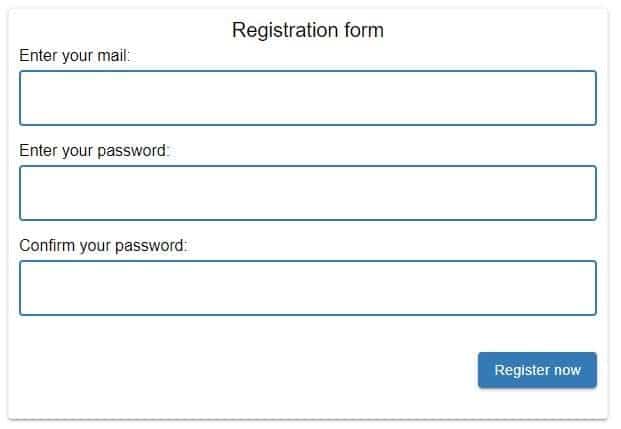
For simplicity, our user interface will consist of two input elements and a “Register” button. You may add additional fields, such as first/last name, username, password confirmation, etc.
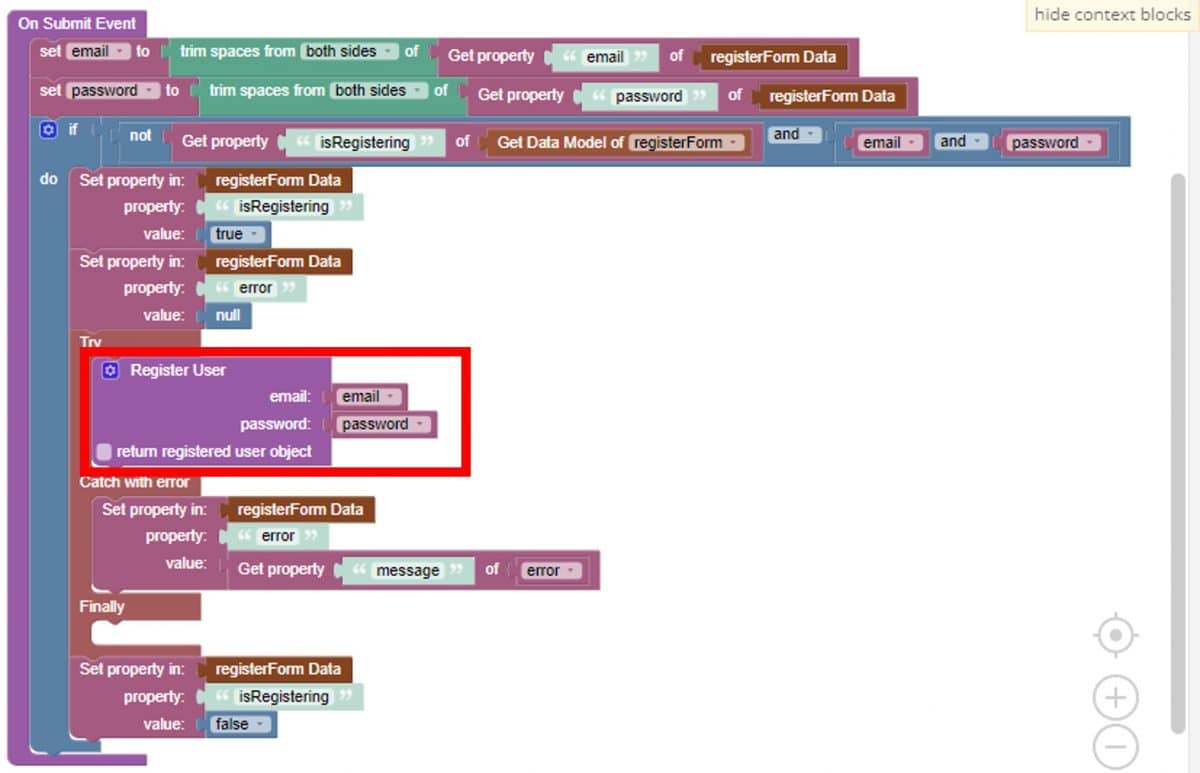
To learn more about setting up your own user registration page, watch the video below.
Back to our demo, when you click on the “Register” button, data is recorded from the form elements in the “Users” table.
Registration of a new user will be a signal (trigger) for Zapier to take action. On this signal, Zapier will receive data about the new user and transfer it to the “ClickSend SMS” application for sending SMS.
Zapier Setup
Next, let’s set up the Zapier side of the equation. If you don’t have an account with Zapier, you will first need to register and log into your Zapier account. A free account is all you will need for this demo.
Creating the automation with Zapier will consist of two steps.
Step 1
The first step is to define a Trigger (when Zapier needs to start performing an action). In our case, registering a new user will act as a trigger.
Click on the button “Create Zap”.
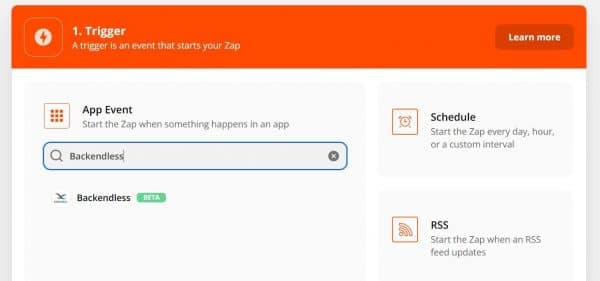
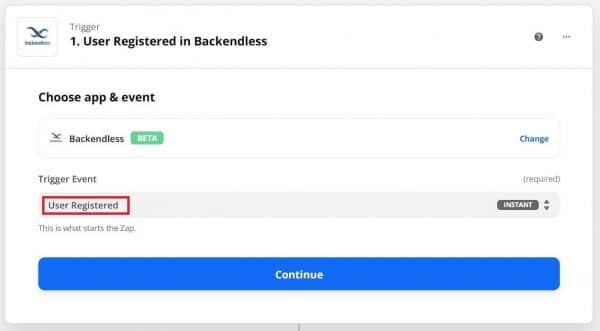
In the “App Event” field, select Backendless.
In the “Trigger Event” drop-down list, select “User Registered” and click the “Continue” button.
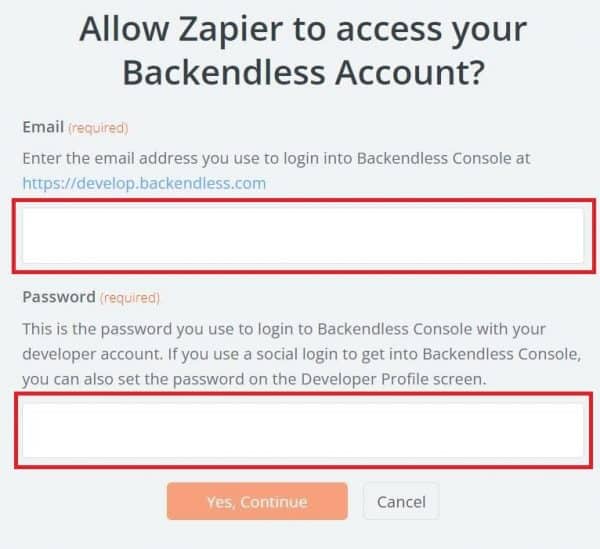
Next, you will need to enter your credentials with which you log into Backendless Console and click the continue button.
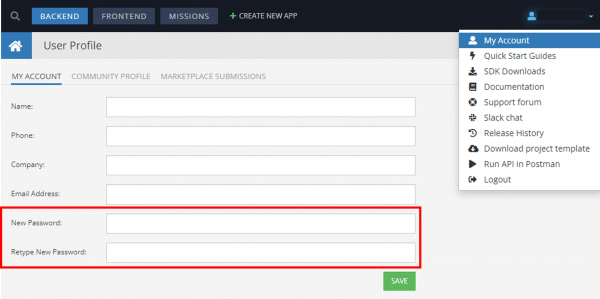
If you used a social account to register with Backendless, you will need to add a password for your account. To add a password, visit your User Profile:
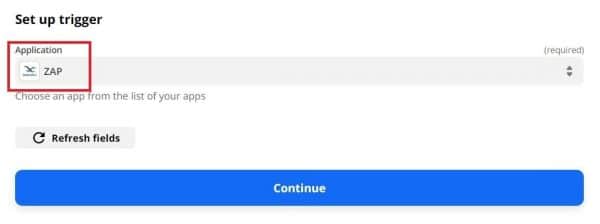
In the trigger settings, select the name of your Backendless app and click the continue button.
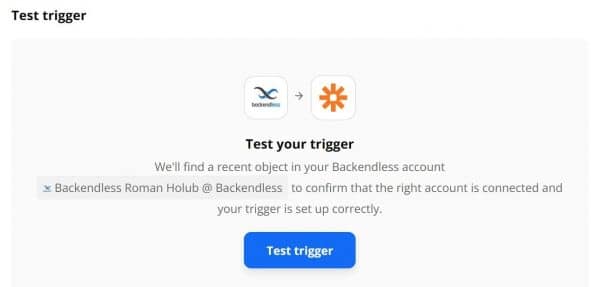
Then we need to test our trigger.
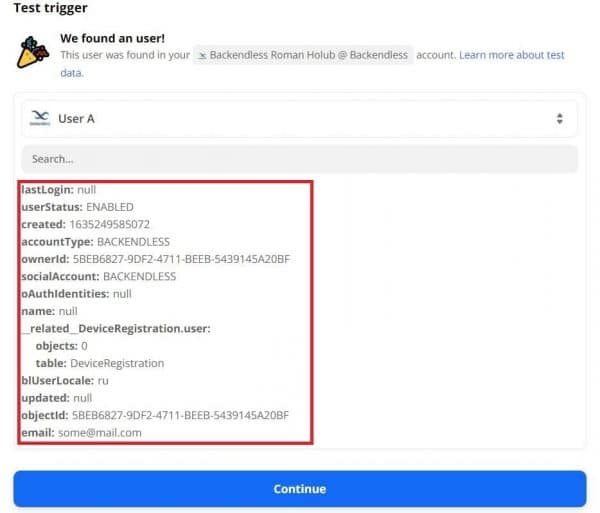
If the test is successful, an object with data about the registered user will be displayed.
Step 2
In the second step, we will tell Zapier what action should be performed after the trigger is fired.
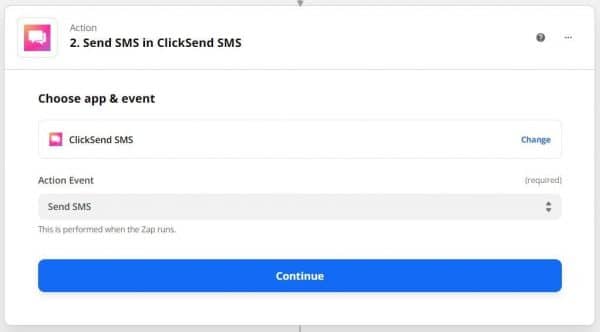
Select the “ClickSend SMS” application from the drop-down list and select “Send SMS” from the “Action Event” list. Click the continue button.
Next, you will need to enter your credentials with which you log into “ClickSend SMS” APP and click the continue button (if necessary, register for an account at ClickSend SMS; you can start with a free trial).
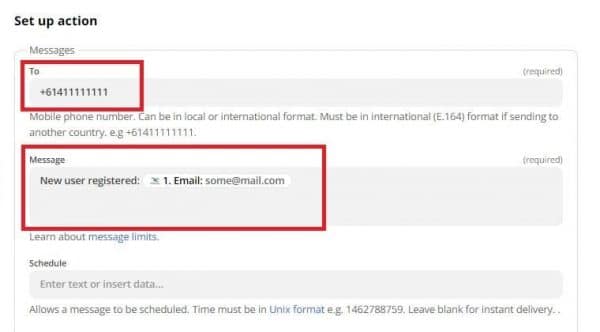
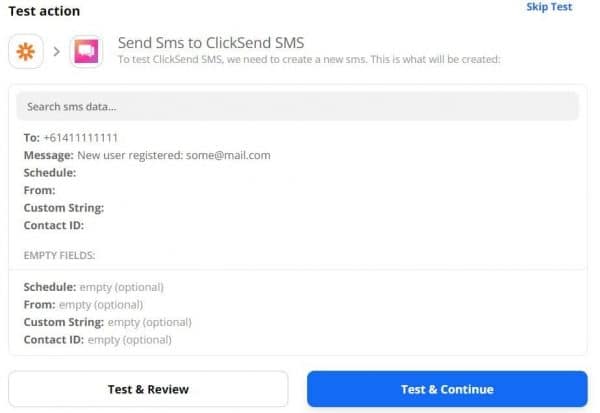
Configure the action as shown below. For this demo, we will set the action up to message ourselves that a new user has registered.
The “To” field should contain the phone number to which SMS will be sent. The “Message” field should contain the message text. If necessary, you can fill in the optional fields. Click the continue button.
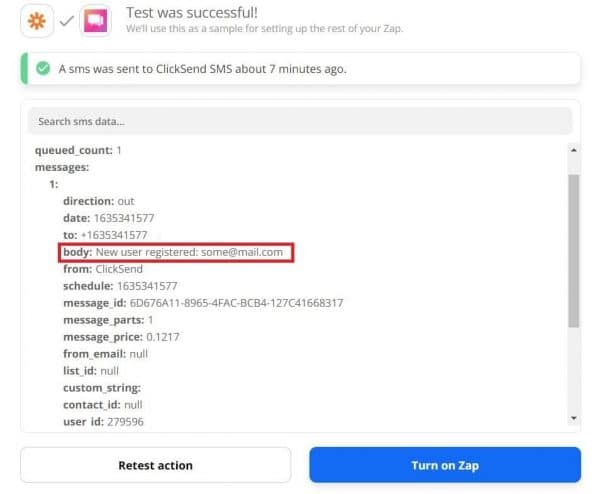
Then we’ll test once again.
If we pass the test successfully, you will receive an SMS on your phone with the text displayed in the “Body”.
Click the “Turn on Zap” button and you’re ready to go! Zapier is now up and running.
Be sure to check out our other Zapier demo articles:
- Creating a language translator using Zapier
- More coming soon!
Thanks for reading, and as always, Happy Codeless Coding!
